Organize Multiple Git Repositories in One View
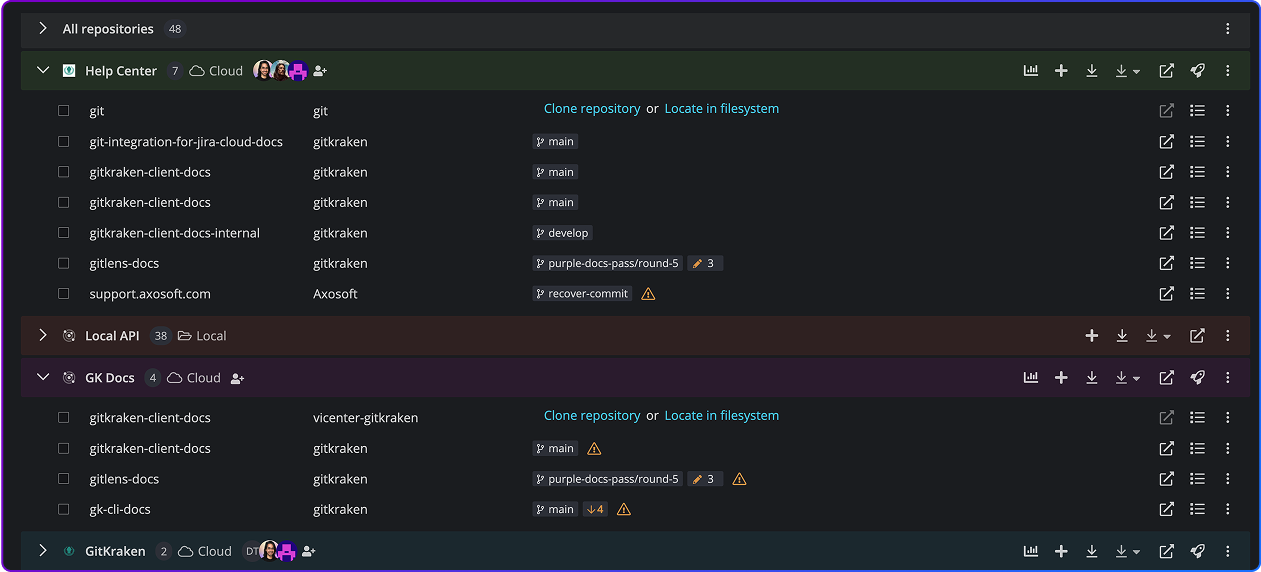
Centralize & Manage Multiple Git Repos with Ease


Share Git Workspace Configurations and Collaborate
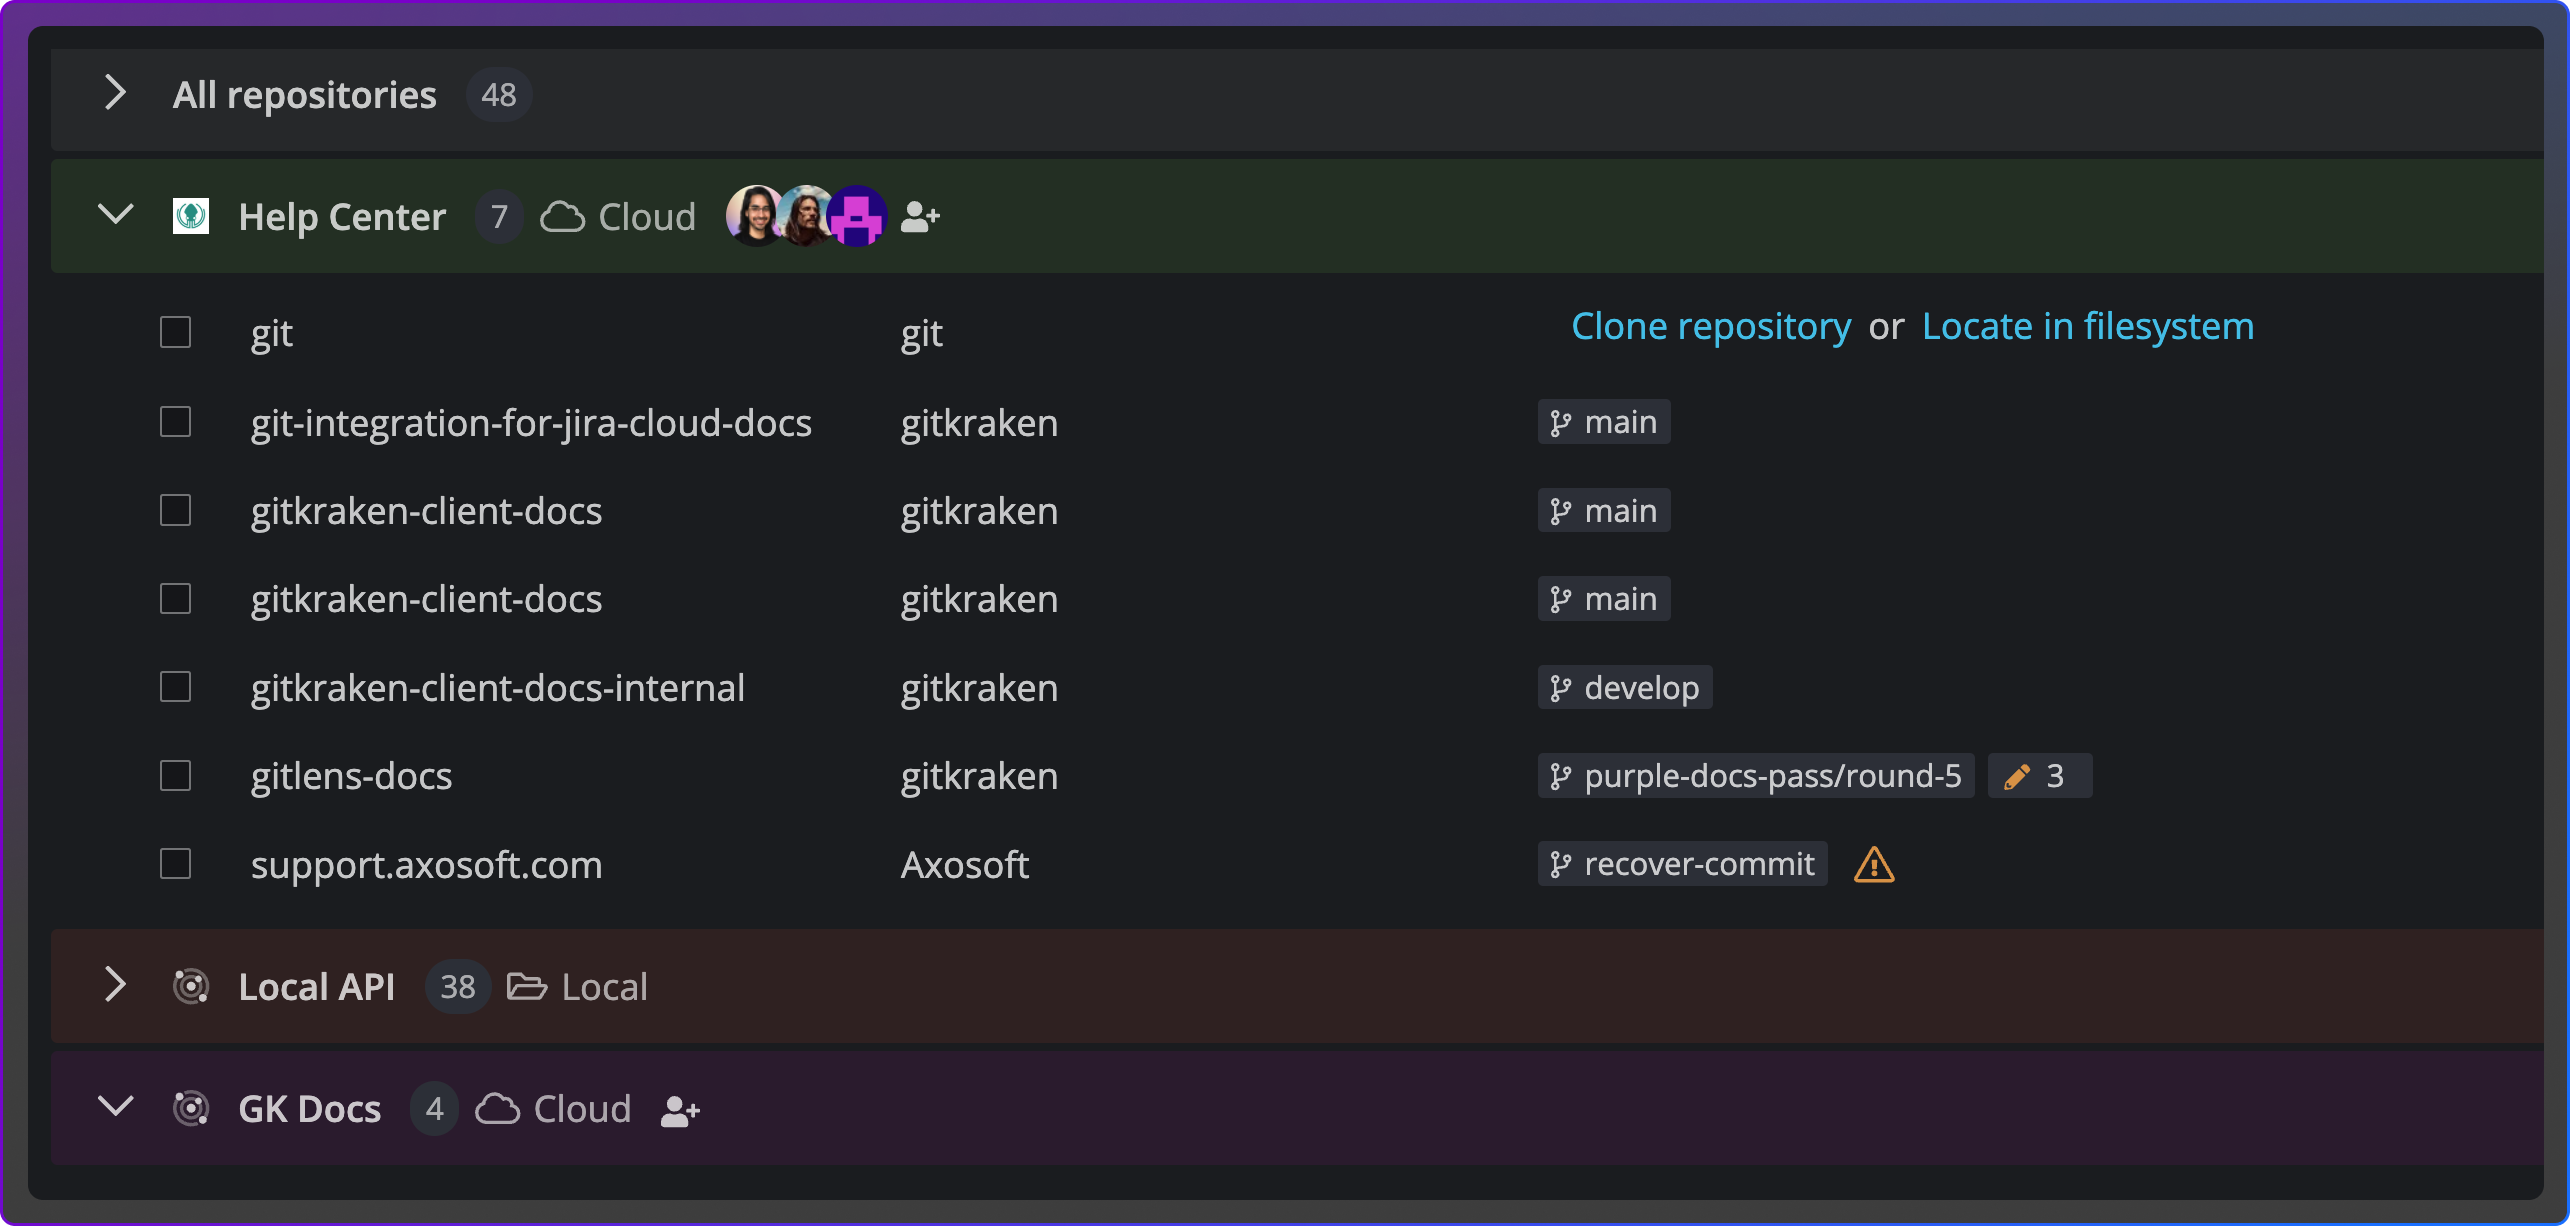
One-click Onboarding for Multi-Repo Git Workspaces
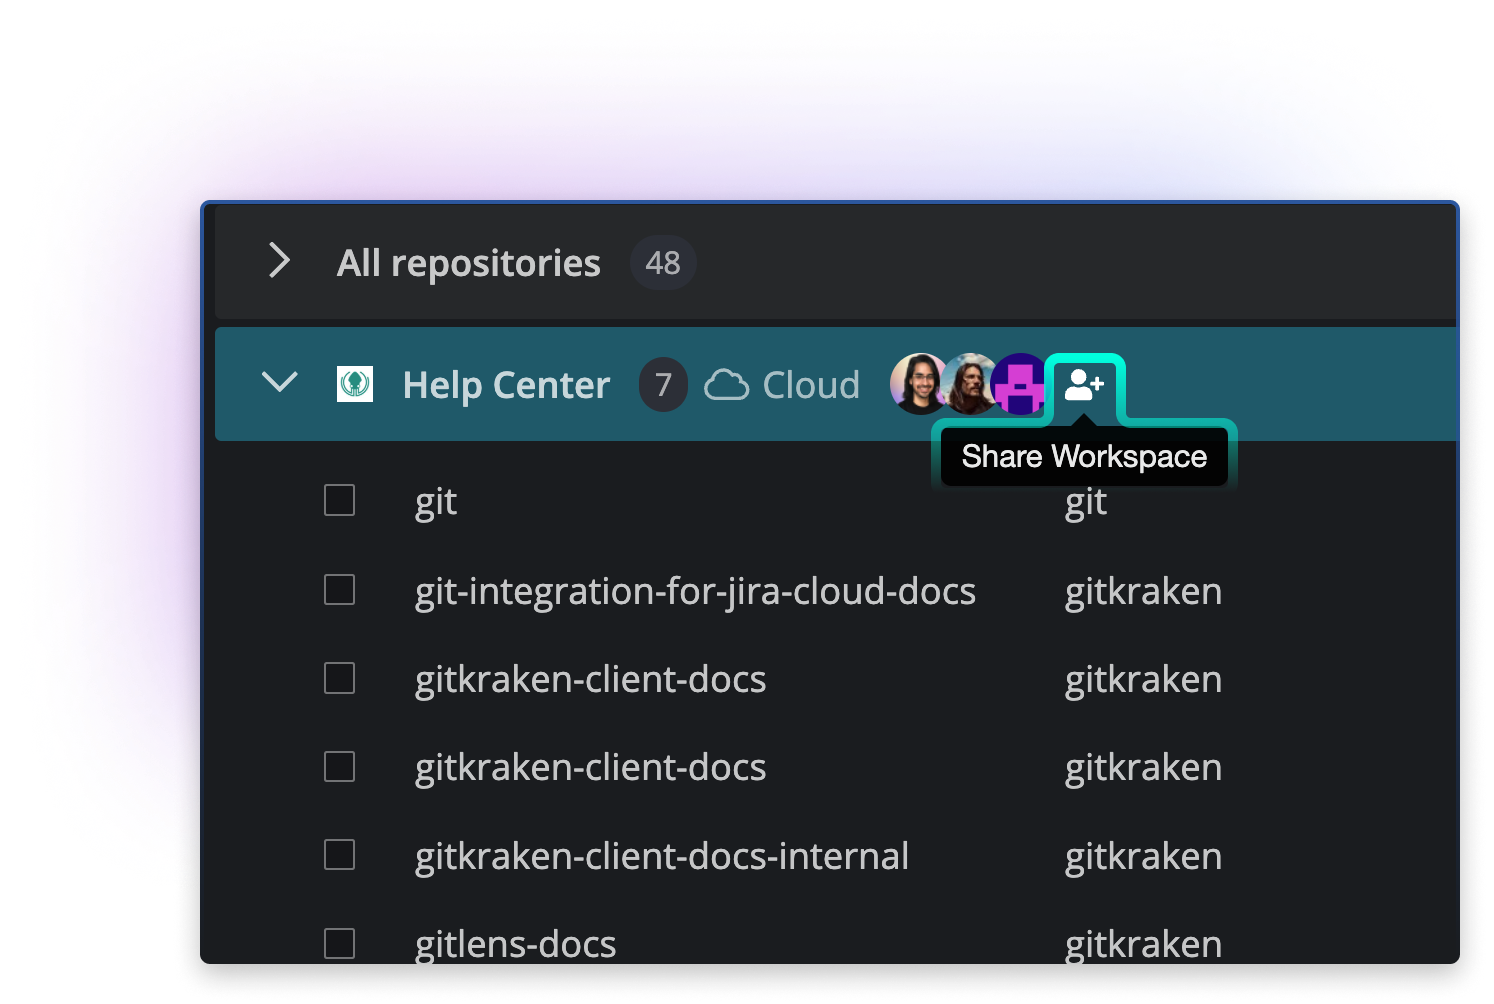
Share your workspace setup
Share your exact repo set and branch layout so teammates can match your environment or sync your setup across devices.
- Centralized repo activity for all users
- Visual change indicators for quick scanning
- Works across personal and shared repos
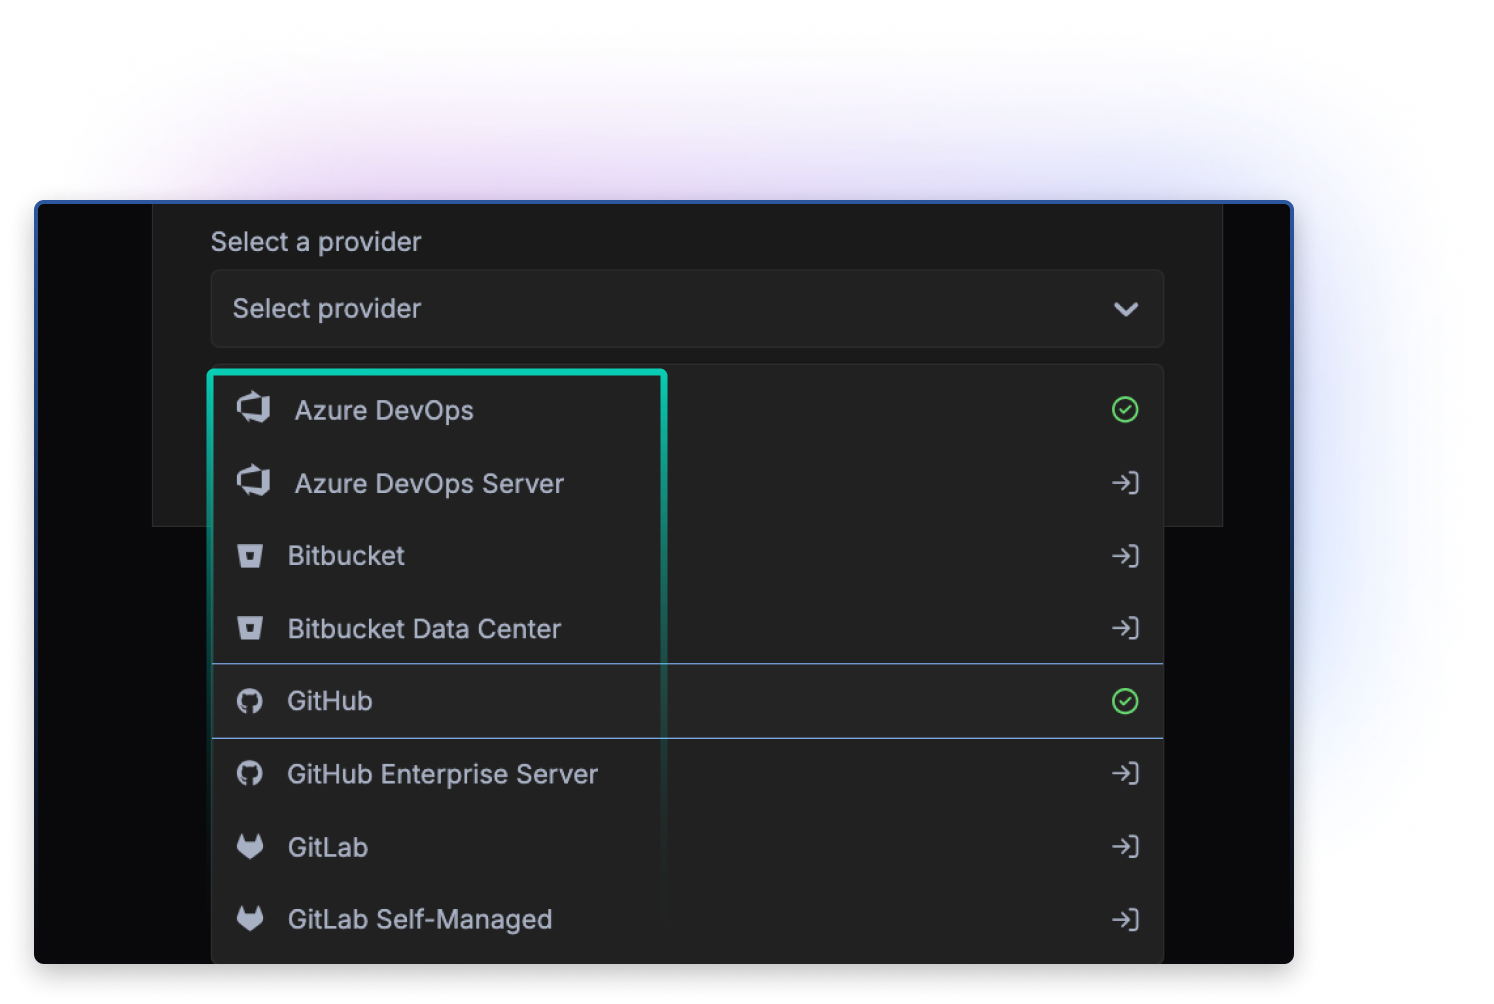
Integrates with GitHub, GitLab, Bitbucket, Azure DevOps
Connect all providers in one unified view.
- Manage across hosts without switching tools
- Eliminate multiple logins
- Keep context across all repos
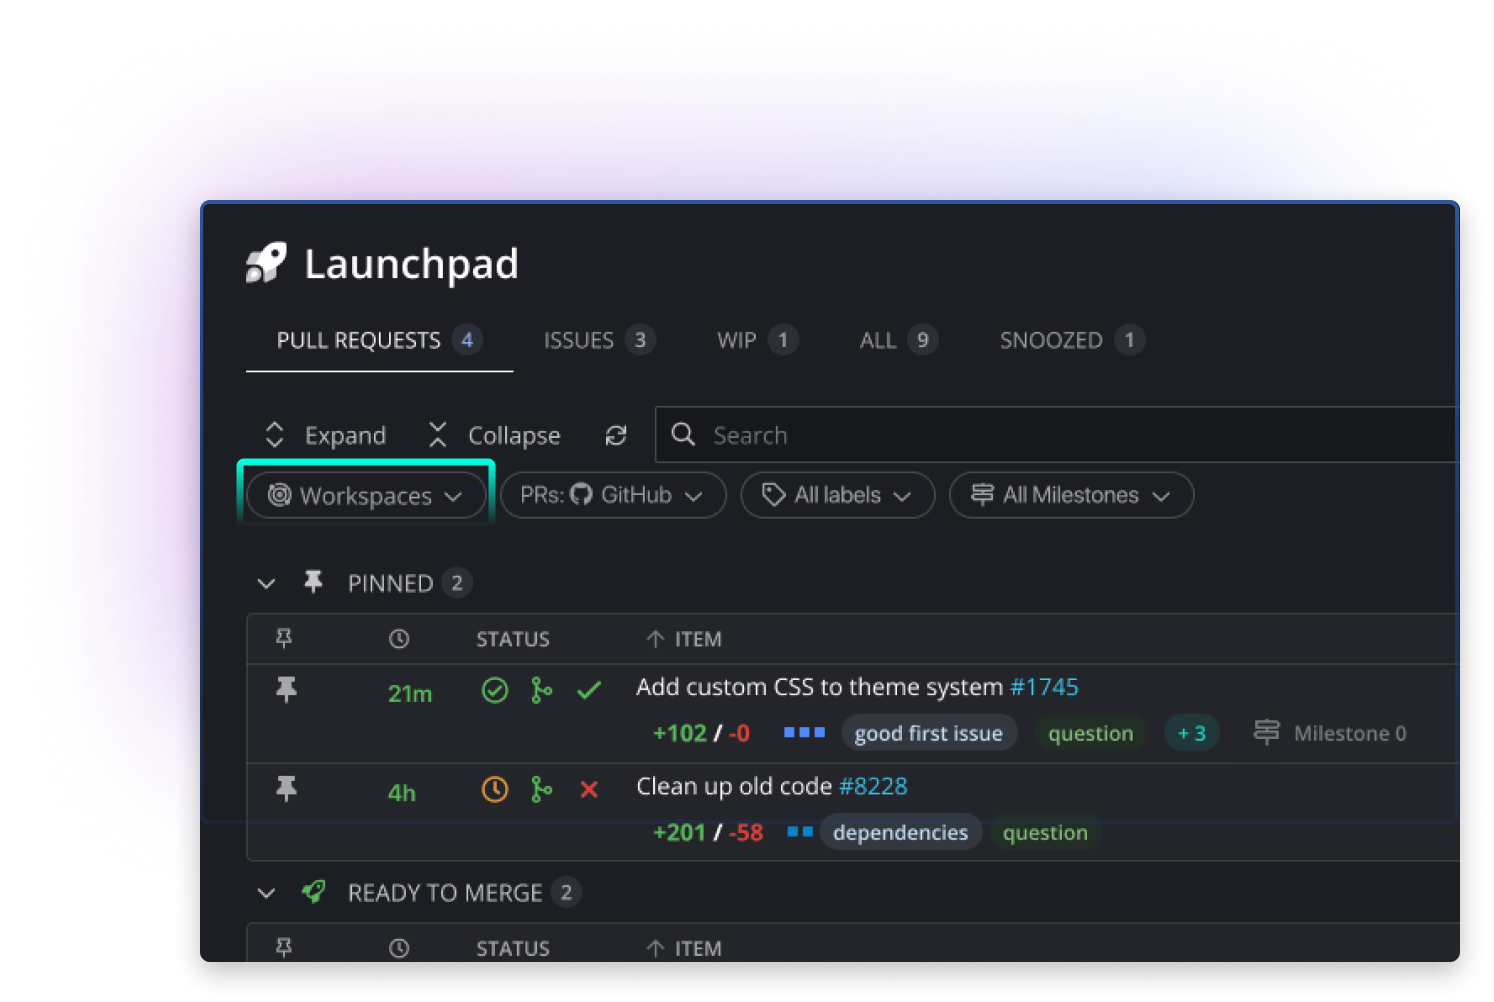
Foundation for Launchpad
- Enable team-wide PR, issue, and WIP tracking from your Workspace.
- Track PRs, issues, and changes
- See work across multiple repos
- Reduce manual status checks
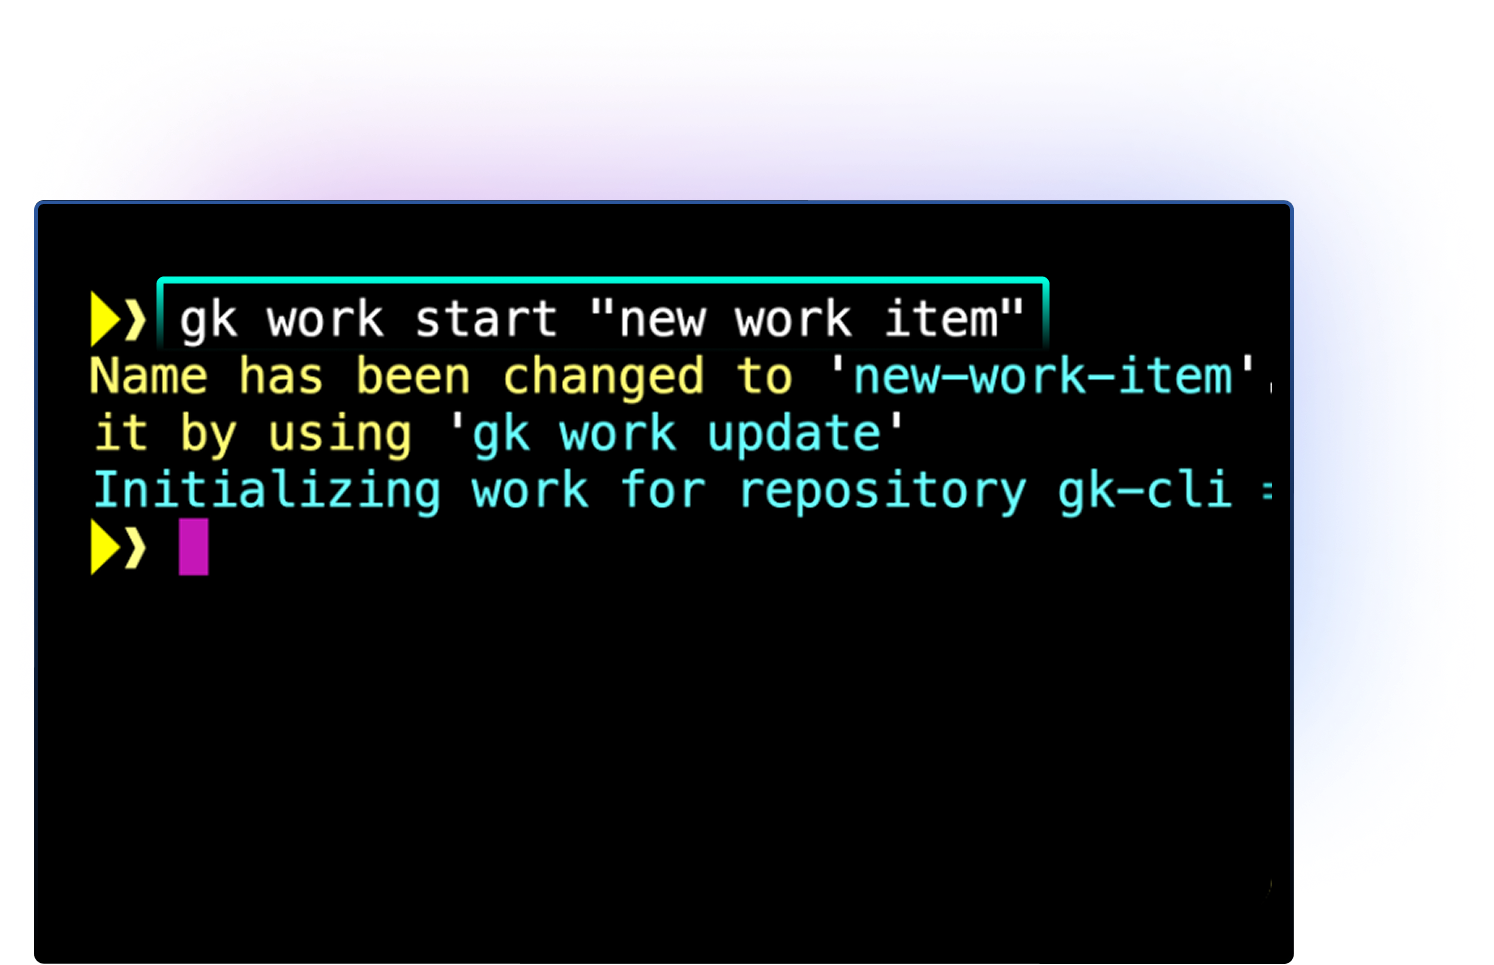
CLI-ready
- Commands pre-loaded with repo and branch context.
- Skip extra configuration
- Run commands across repos
- Stay in flow from the command line
How to Create a GitKraken Workspace
How to Create a GitKraken Workspace
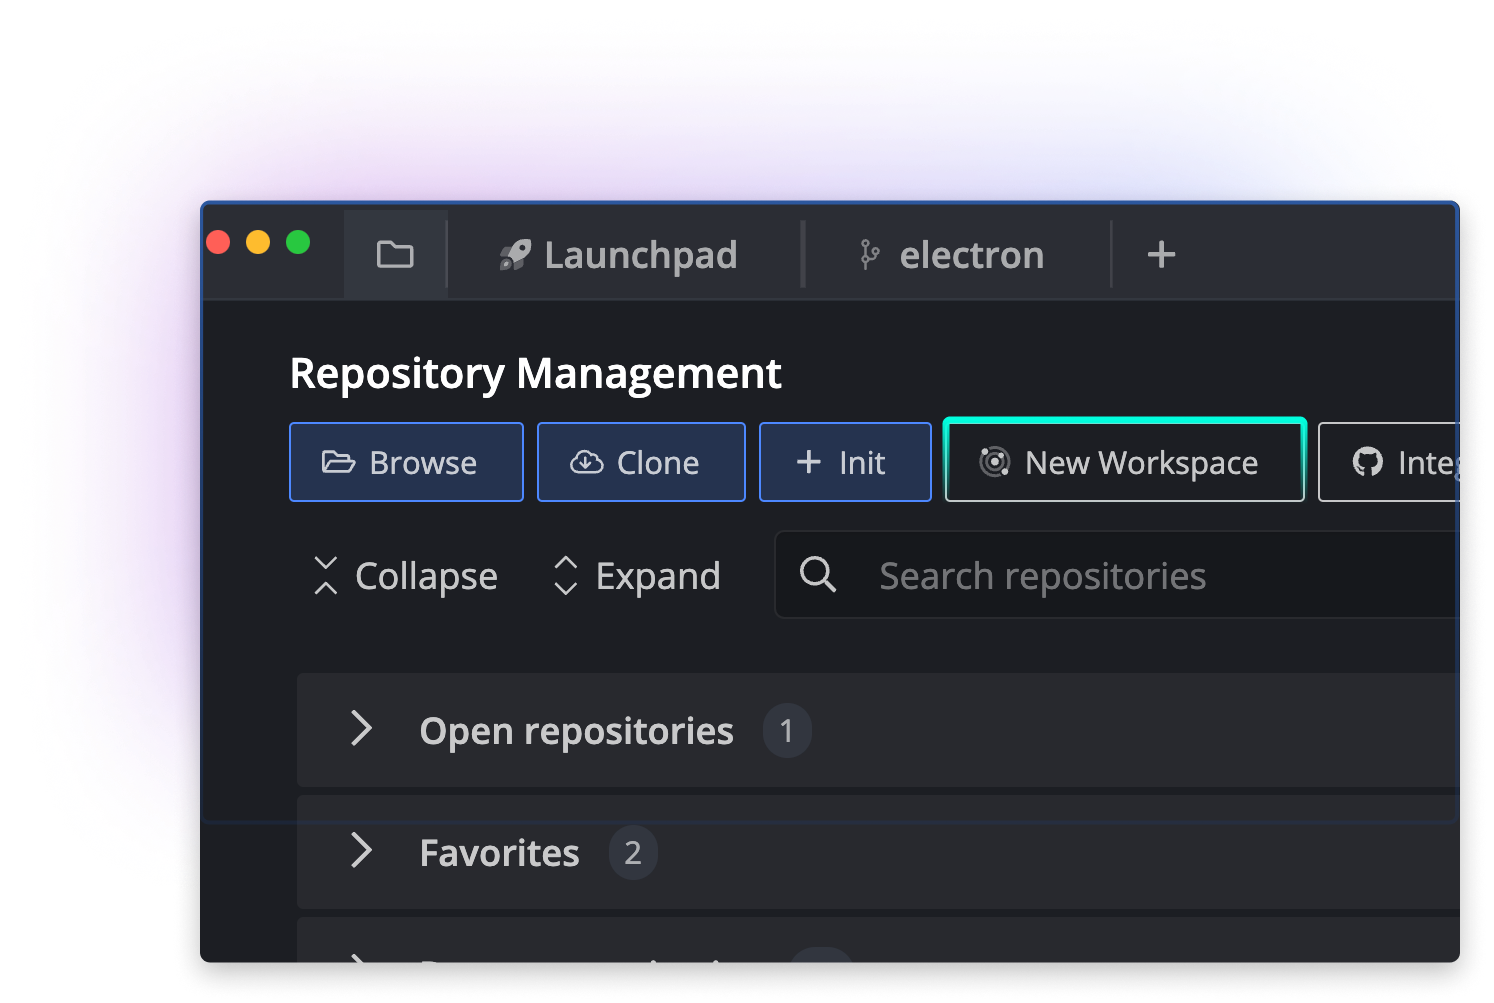
Ready to jump in? To access Workspaces in GitKraken Desktop:
- Launch GitKraken Desktop
- Click on the folder icon at the top left.
- Click “New Workspace”
- Select “Cloud Workspace”.
- Name your Workspace and select the hosting service.
- Choose repositories to add.
Access Your GitKraken Workspaces Across All Development Tools


calm Git Chaos with GitKraken Workspaces.
This is just one pillar of our DevEx platform
Frequently Asked Questions
GitKraken Workspaces connect, organize, and access multiple Git repositories across GitHub, GitLab, Bitbucket, and Azure DevOps in one dashboard.
To access Workspaces in GitKraken Desktop:
- Launch GitKraken Desktop
- Click on the folder icon at the top left.
- Or use the keyboard shortcut Alt + O (Windows/Linux) or Cmd + O (Mac).
To create a Workspace in GitKraken Desktop, click “New Workspace,” select repositories from one or more providers, and save your configuration.
Create a Cloud Workspace
- Click “New Workspace”
- Select “Cloud Workspace”.
- Name your Workspace and select the hosting service.
- Choose repositories to add.
Example: a team lead managing microservices can group repos from multiple hosts and see real-time status updates without switching tools.
Workspaces are available in GitKraken Desktop, GitLens for VS Code, GitKraken.dev, and the GitKraken CLI. You can start in one tool and your workspace will sync across all others.
To access Workspaces in the browser, log into gitkraken.dev and click the “Workspaces” tab in the left navigation.
To access Workspaces in GitLens:
- Open Visual Studio Code : Launch your Visual Studio Code editor.
- Access GitLens : Ensure that the GitLens extension is installed and enabled.
- Open the Command Palette : Press Ctrl + Shift + P (or Cmd + Shift + P on macOS) to open the Command Palette.
- Search for Workspaces : Type “GitLens: Open Workspaces” to access the GitLens workspace features, where you can manage your repositories and settings.
Developers save time by reducing context switching. With one view for all branches, PRs, and changes, you can focus on coding instead of navigating between hosting platforms. For example, a developer working on both front-end and back-end repos can fetch changes and check PR status for all projects at once.
Team leads gain visibility into all team repositories, active branches, and open PRs from one place. This makes it easy to track progress, spot blockers, and ensure consistency across projects. For instance, during sprint planning, a lead can see which repos are ready for release and which need review.
Use Workspaces when you manage multiple repos for the same project, need to coordinate across a team, or want consistent repo organization across devices. Common use cases include managing microservices, tracking multiple PRs during a release, and onboarding new developers by sharing a ready-to-use environment.
 GitKraken MCP
 GitKraken Insights
 Dev Team Automations
 AI & Security Controls


