Get the most out of Git with a robust visualization tool like the cross-platform Git client for Windows, Mac, & Linux:
We know, there’s a lot to love about the legendary GitKraken Git GUI. 😉 So much so, that you might not even know about some of the magical capabilities hiding beneath your fingertips.
Our #GitKrakenTip series is meant to shed light on the unique delights offered by your favorite coding Kraken.
1. Add graph columns for commit author, date/time, & SHA.
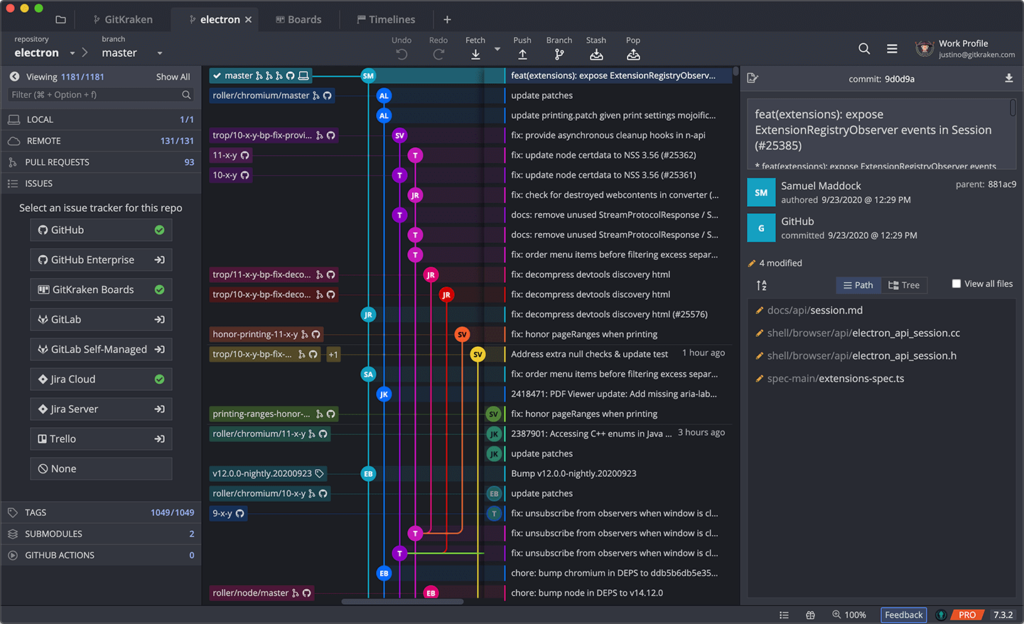
The GitKraken graph offers a beautiful, technicolor visualization of your Git repository, but sometimes, you need to see more details related to your commits.
By default, the graph in GitKraken displays column headers for Branch/Tag, Graph, and Commit Message. Right-click on any column header to access a context menu that gives you the ability to add additional column headers for Commit Author, Date/Time, and SHA.
These column headers add helpful visual context at a quick glance and can be especially useful when working in large Git repositories with lots of contributors.
You may find that the optional author, date/time, and SHA columns add value situationally; you can switch them off and on in just two clicks.
2. Toggle the visibility of the left and right panels.
Use keyboard shortcut Ctrl/Cmd + K to toggle the visibility of the right commit panel on and off, and use keyboard shortcut Ctrl/Cmd + J to collapse and expand the left panel.
3. Cherry pick only one file, or a select number of files.
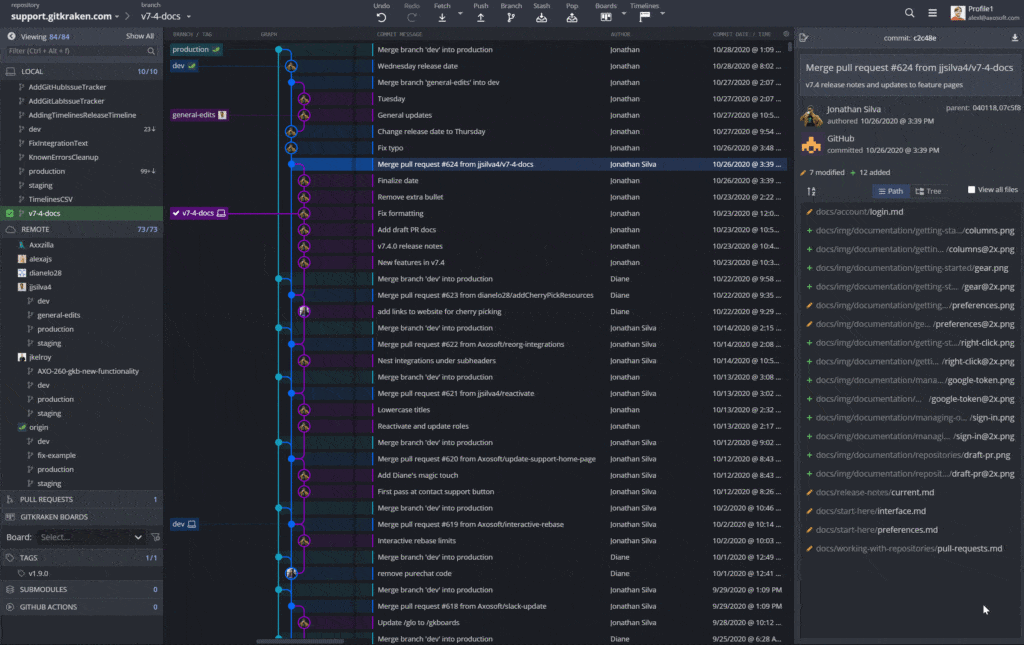
If you have one file on another branch that you want to grab, but don’t want to take changes from any of the other files, you can use the cherry pick action in GitKraken.
After cherry picking a target commit, don’t immediately commit your changes; instead, you can stage and commit the file(s) you want and discard the rest.
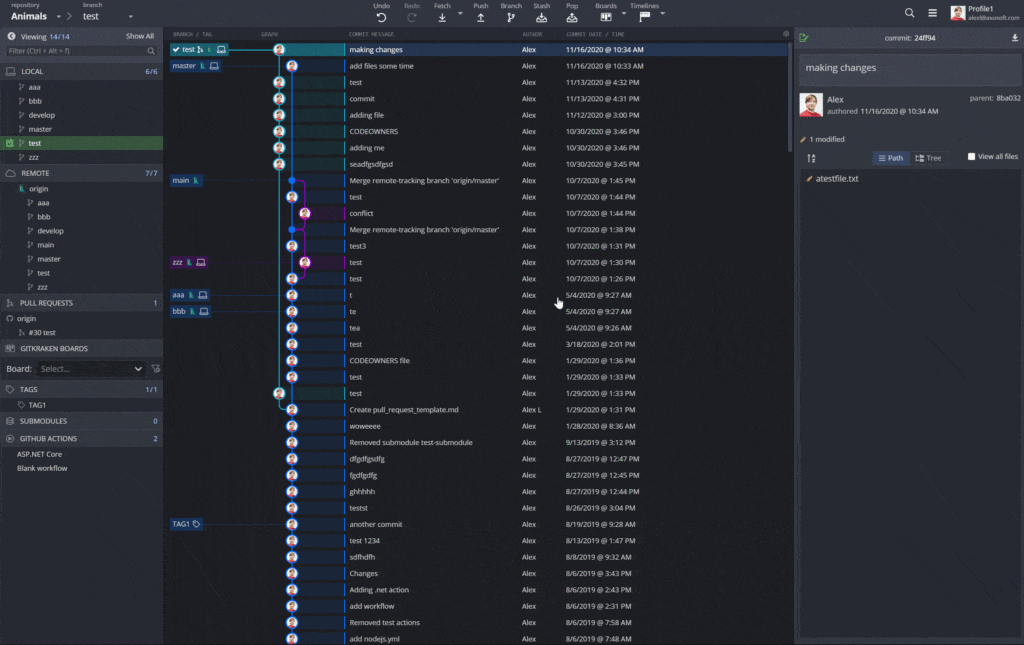
Learn more about cherry picking in Git and get full details for effectively using the action in the GitKraken Git Client. Learn Git: How to Cherry Pick
4. The Edit in working directory button helps you jump straight into making changes to the right file.
If you’re viewing a file on a different branch, GitKraken will display an Edit in working directory button which will take you to the edit mode of that version of the file from your currently checked out branch.
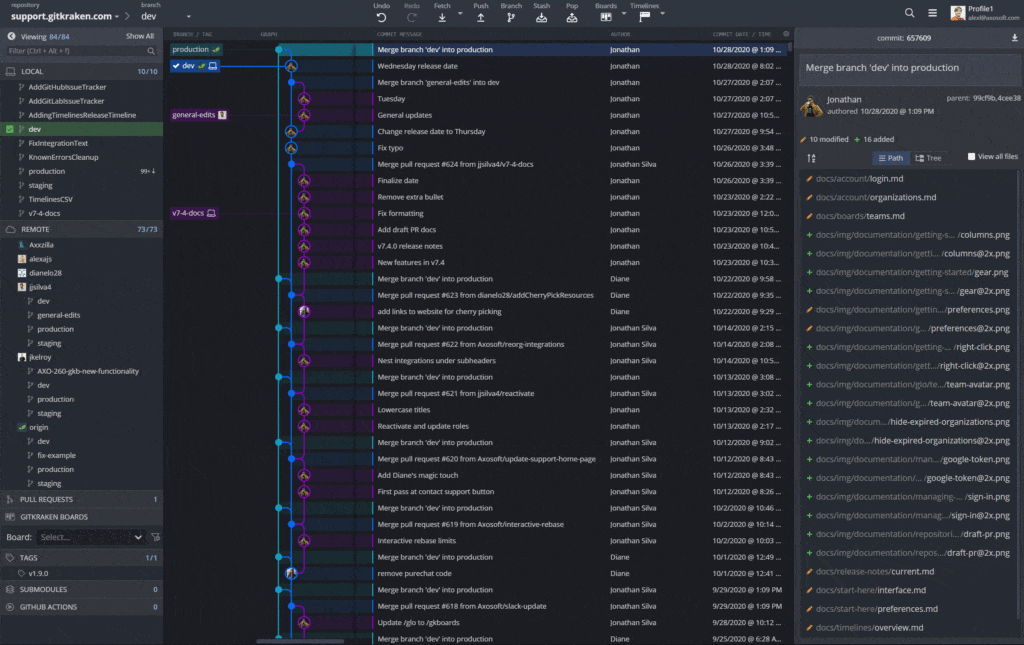
5. Resize your panels to see more of your commit message.
Wish you could resize your right panel larger? You can pin the right panel to the bottom to obtain even more room for your commit message. You can also expand the left panel to get more space when needed.
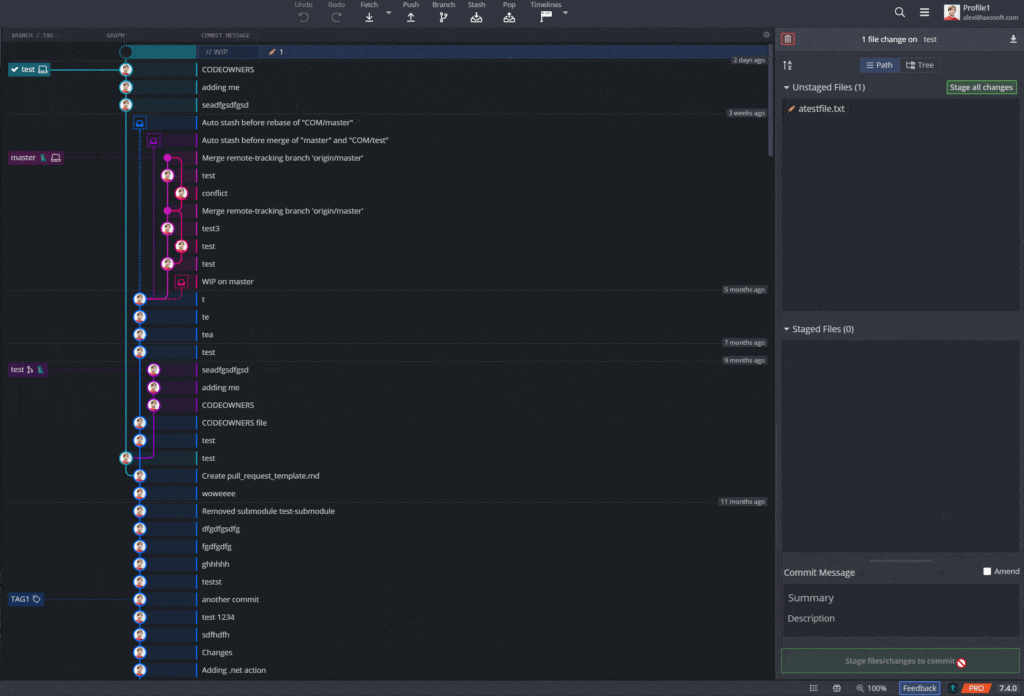
6. GitHub users can create and save draft pull requests in GitKraken.
If using GitKraken with a GitHub integration, you will see a Submit as draft checkbox when creating a pull request in GitKraken.
7. Rewrite your commit history with interactive rebase.
Initiate interactive rebase by dragging-and-dropping one branch onto another branch in the central graph.
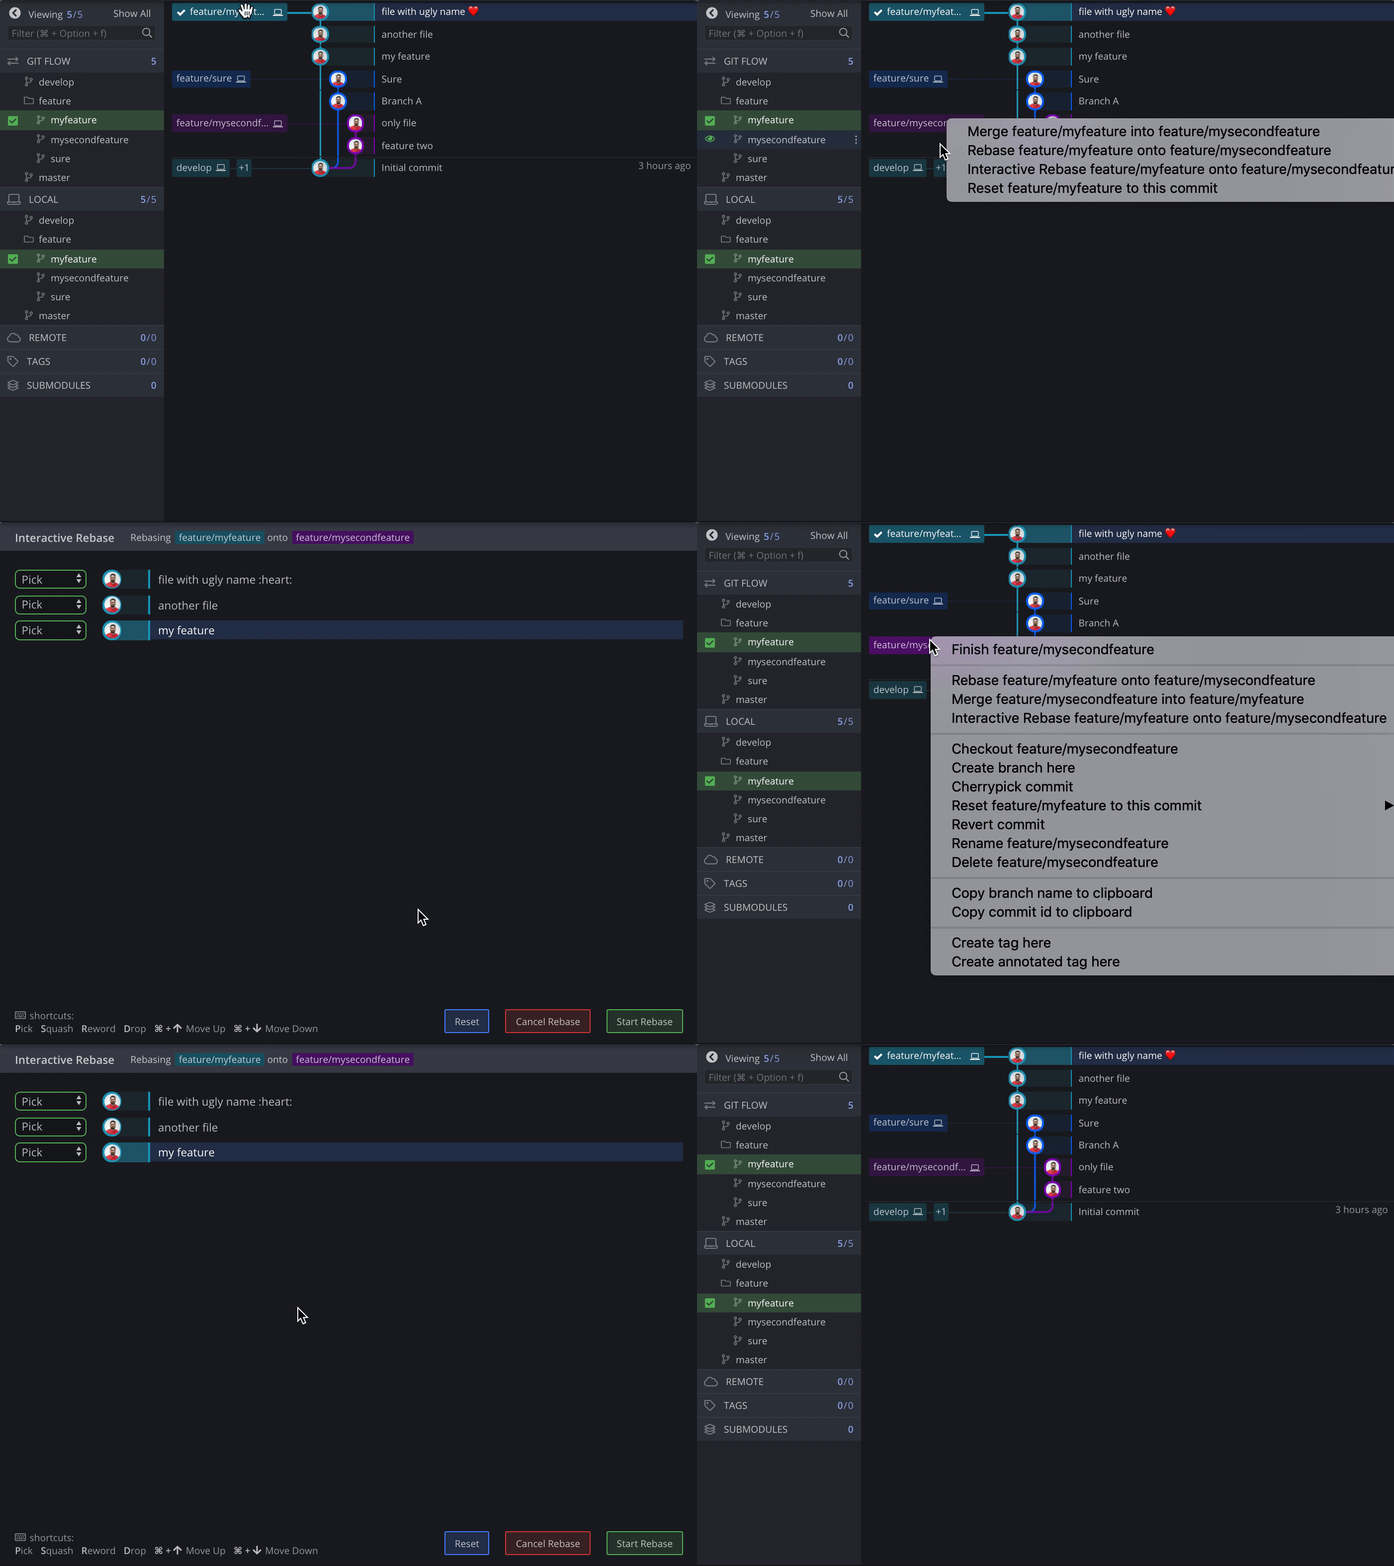
From here, you can pick, reword, squash and drop commits, giving you complete control over how your commits are rebased. Learn more about interactive rebase and how to use the interactive rebase tool in our Learning Git with GitKraken: What is Interactive Rebase? video.
8. Authenticate your GitKraken account using your Google credentials.
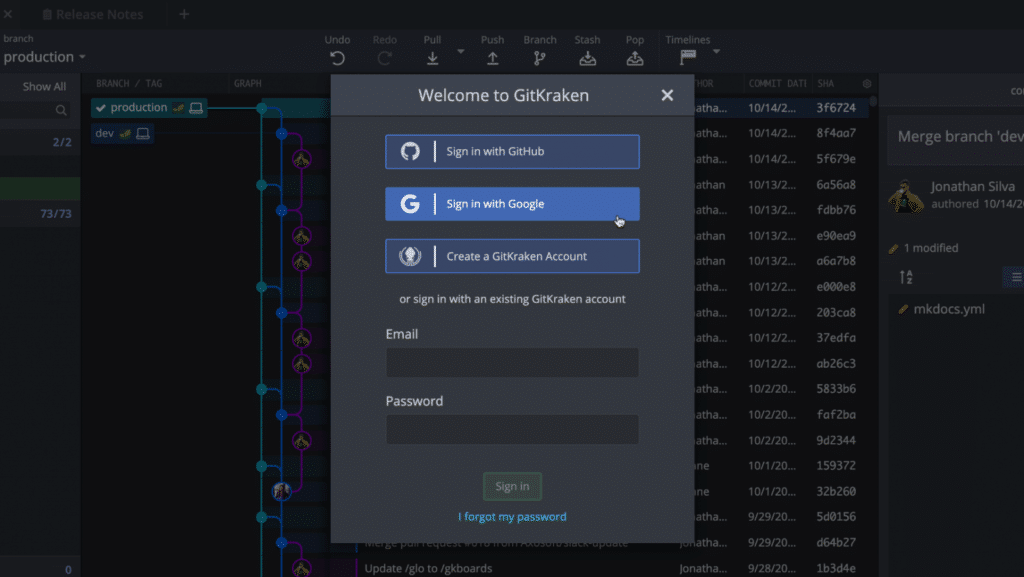
If you have a Google account, you may select Sign in with Google when prompted to sign in to GitKraken. No need to remember any more credentials! 😅
9. Solo branches for increased visual focus.
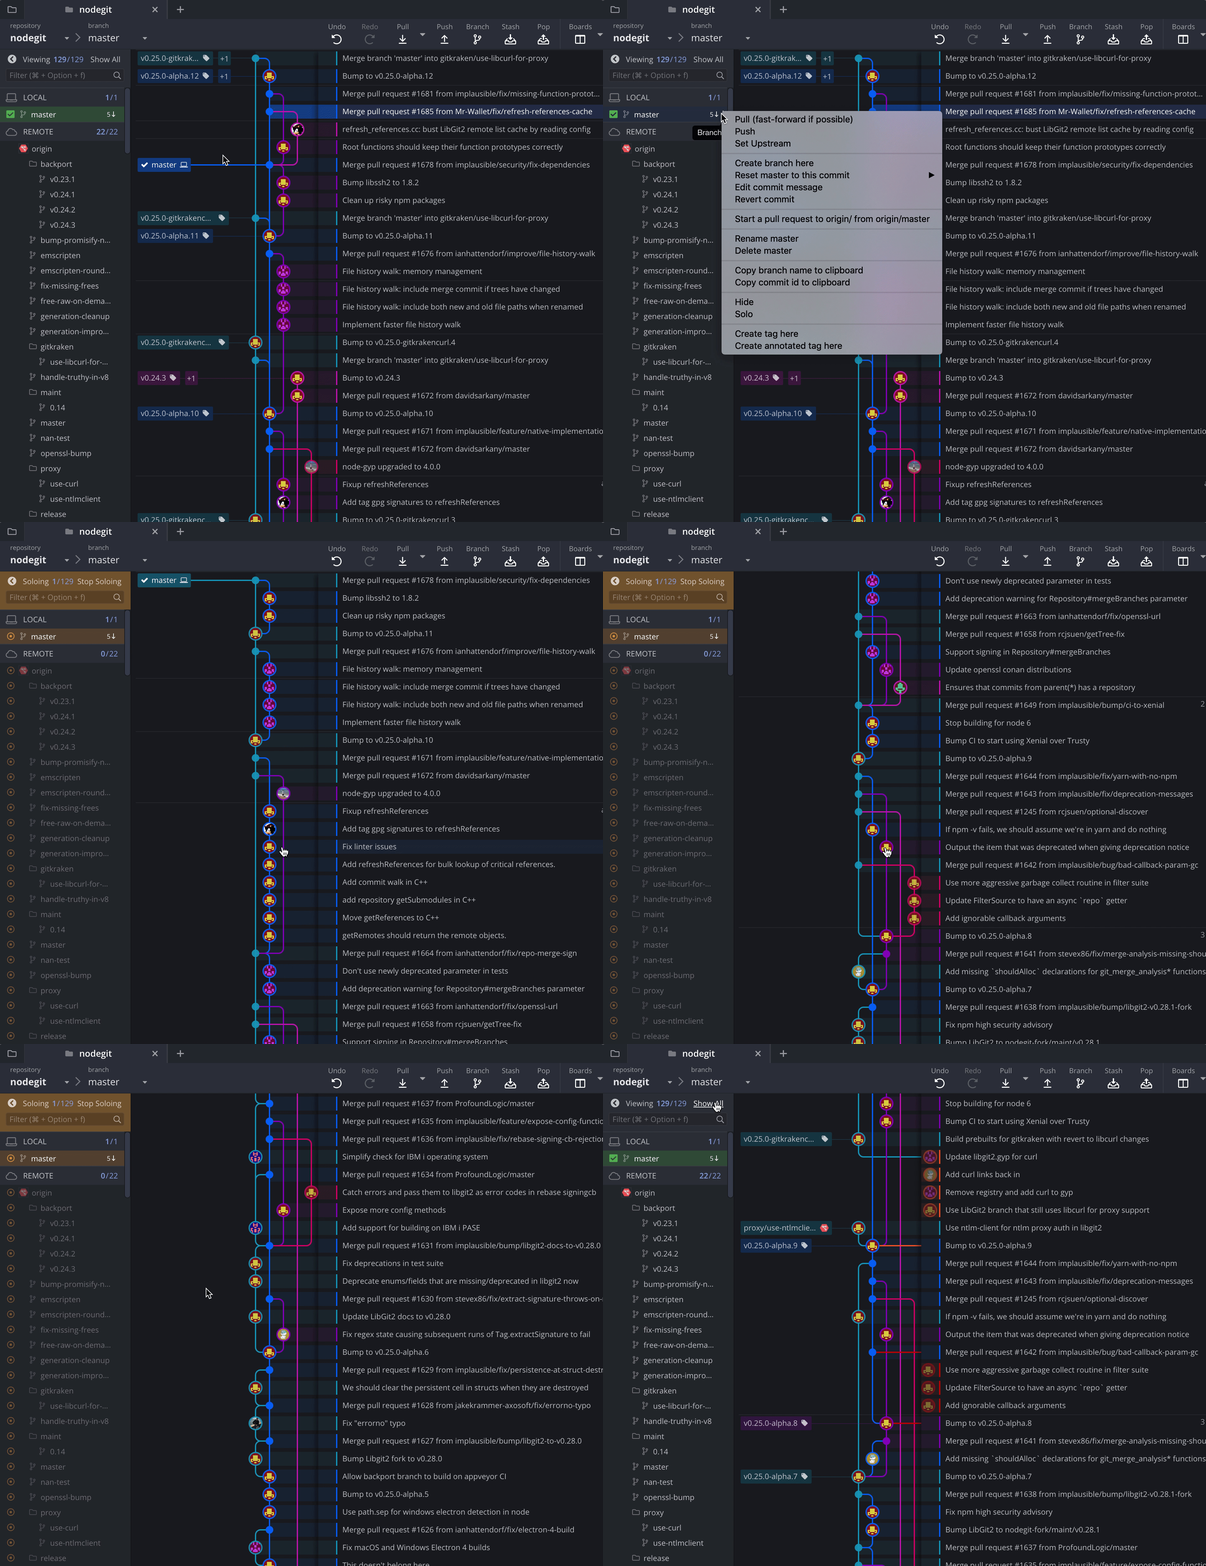
Soloing a branch will hide all other branches that have not been soloed. To solo a branch, right-click on a target branch and select Solo. Soloed branches will be highlighted in orange with a solid orange icon to the left of the branch name.
Tip: Use GitKraken
The most important tip you can take away from the article, for those of you not already using the legendary cross-platform Git client for Windows, Mac, & Linux, is to use GitKraken to increase your productivity. 🚀
 GitKraken MCP
 GitKraken Insights
 Dev Team Automations
 AI & Security Controls
