Before we dive into cherry picking in Git, let’s do a quick refresher on commits. A Git commit is a snapshot of your repository at one point in time, with each commit cumulatively forming your repo history.
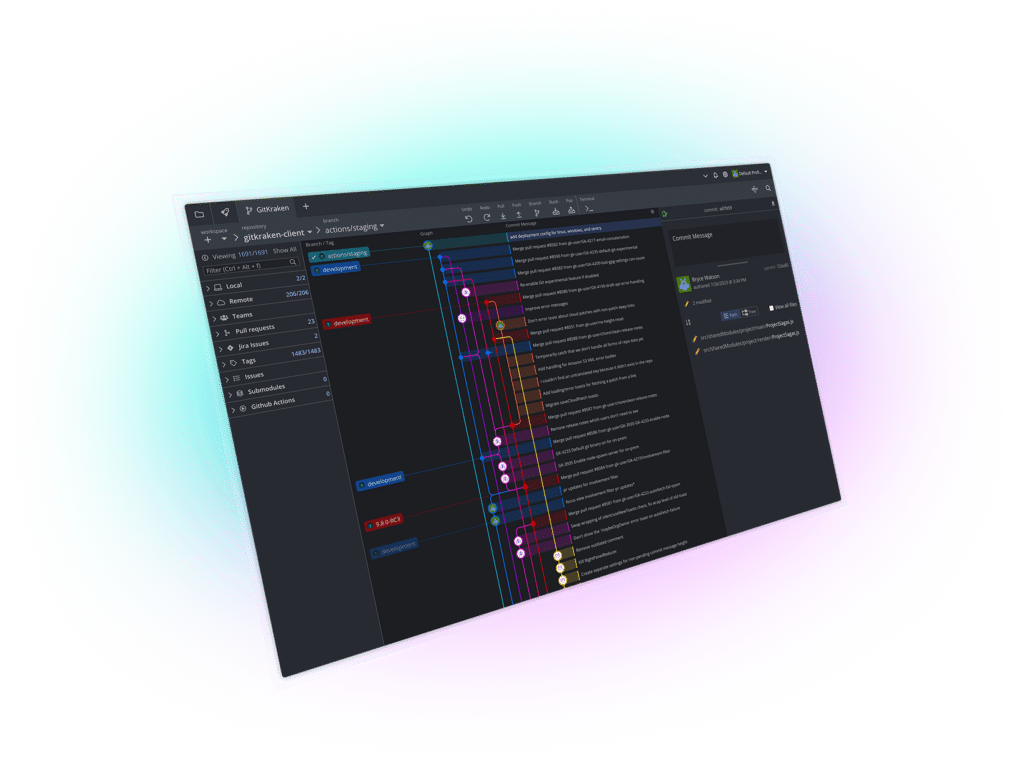
GitKraken’s intuitive UI makes it easy to perform a cherry pick because you can clearly see all of your commits in a visual graph.
How do I cherry pick a commit in Git?
In Git, the cherry pick command takes changes from a target commit and places them on the HEAD of the currently checked out branch.
From here, you can either continue working with these changes in your working directory or you can immediately commit the changes onto the new branch.
When should I use the Git cherry pick command?
The cherry pick command can be helpful if you accidentally make a commit to the wrong branch. Cherry picking allows you to get those changes onto the correct branch without redoing any work.
What happens to the commit after it’s been cherry picked onto the new branch? From here, you can either continue working with the changes before committing, or you can immediately commit the changes onto the target branch.
What’s the difference between cherry picking and merging in Git?
Cherry picking is one method of moving a commit from one branch to another in Git. But be warned! Use the cherry pick command sparingly as overusing it can lead to duplicate commits and a messy repo history.
Another method for moving a commit to another branch in Git—which may be preferred to cherry pick in order to preserve commit history—is a merge.
Learn more about how to Git merge and what happens when you encounter a merge conflict.
Git Cherry Pick Example
Now that we’ve gone over what cherry picking is, let’s see how to put your newfound ability to use! First, we’re going to go over how to cherry pick using the GitKraken Git GUI before walking through how to Git cherry pick in the command line.
Git Cherry Pick Example in GitKraken
First, let’s take a look at how the cherry pick action works using the cross-platform GitKraken Git GUI.
Reduce the risk of error! See your commits listed clearly in the GitKraken Git GUI before you cherry pick.
A huge benefit of using GitKraken is the constant visual context of your graph. You can easily see all of your commits listed in chronological order, with your most recent commit on the top.
There’s no need to run a command to display your graph, and you don’t even have to obtain the SHA for your target commit. GitKraken will take care of all of that for you.
In this cherry pick example, let’s say you have one branch—feature-A—checked out, and you commit your changes to said branch using the commit panel.
Drat! You just realized the commit should have been made to a different branch: feature-B. Rather than going back to redo your work, you’re going to cherry pick the commit instead.
To cherry pick in GitKraken, double click your target branch—in this case feature-B—to check it out. Next, right-click the target commit from the feature-A branch; this will open a context menu. From here, you can select Cherry pick commit.
Now, you have two options. You can immediately commit the changes to the feature-B branch, or you can keep working on them. If you choose the latter, GitKraken will add the changes to your working directory as part of the WIP node.
You’re not done yet! To ensure you keep a clean repo history, let’s go back and checkout the feature-A branch and do a hard reset on the parent commit. This will remove the duplicate commit from the feature-A branch.
Git Cherry Pick Example in the Command Line
To begin the process of cherry picking in the CLI, you will first need to obtain the SHA for the commit you wish to cherry pick.
Because the terminal lacks the constant visual context of a graph, you will likely need to run
git log --all --decorate --oneline --graphto display your graph and obtain the SHA for your target commit.
After copying the SHA from your log, you can then run
git cherry-pickfollowed by the SHA to cherry-pick the target commit.
If the command performed a cherry pick correctly, a new commit should be visible with a unique SHA.

You can also verify that everything looks good by running
git log --all --decorate --oneline --graphagain to view your graph, which should now show the new commit at the top of the graph with its SHA identifier (highlighted above).
Ready to cherry pick with more confidence?
The GitKraken Git client gives you more control over your cherry pick, clearly listing all of your commits in the central graph so you know exactly what’s going on before you start messing around with your repository.
 GitKraken MCP
 GitKraken Insights
 Dev Team Automations
 AI & Security Controls


