To start using Git, you’ll first need to download Git for your operating system. In this article, we’ll cover how to download Git for Windows, Mac, and Linux. You’ll also learn how to configure Git with your identity so you can start working on your first Git project.
Download Git for Your Operating System
Configure Git with Your Identity
Key Terms & Resources
Git is a distributed version control system (VCS) created by Linus Torvalds in 2005. Git is used to track changes made to files in a project and allows users to revert to previous versions of their project. Git has quickly become the most popular version control system because of its distributed model, branching, speed, and more.
Git SCM – This is Git’s official website. This resource provides content about what Git is, documentation regarding how to use Git, and ways to connect and network with the Git community.
The Pro Git Book – Often simply referred to as “The Git Book”, this contains explanations for Git’s commands and functionality. The Git Book is extremely detailed and is written in technical language, so beginners may find its material somewhat confusing. The content in the Git Book becomes easier to understand as you get hands on experience with Git, but it is important to know that the Git Book exists, as we will use it to configure Git on your machine after your Git download.
Edward Thomson’s talk at the GitKon Git conference provides additional information about the progression of version control and the history of Git.
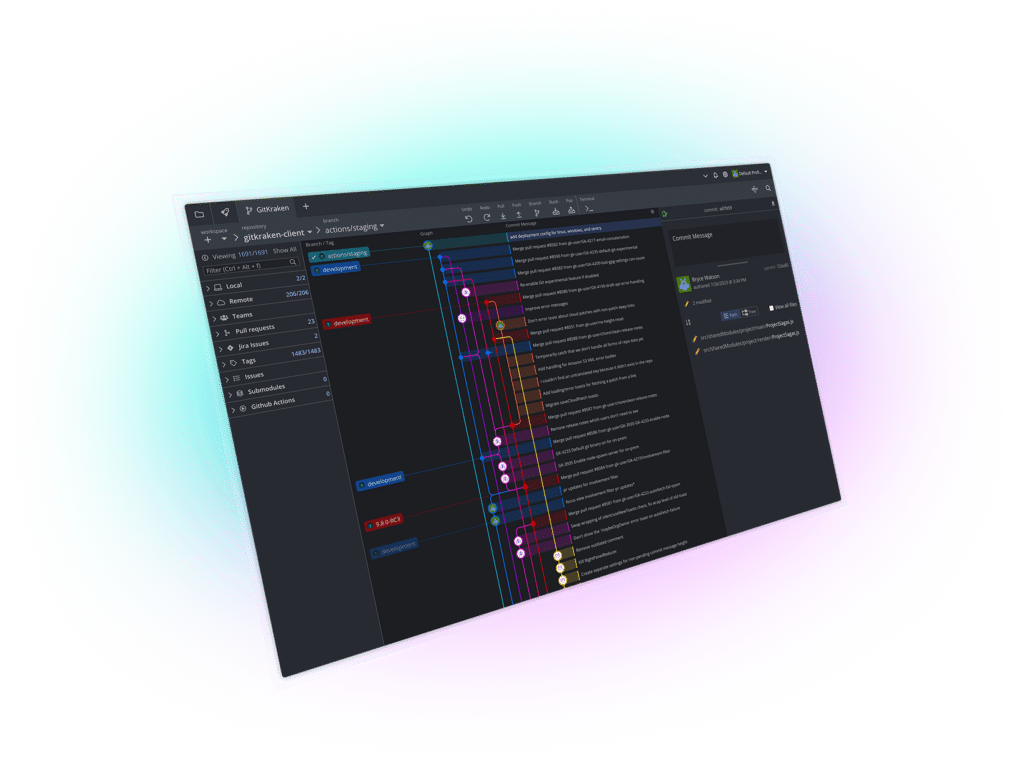
Want to try working with Git before downloading it? You can do just that with GitKraken Client! Run Git commands, experiment with the CLI, and get a feel for a Git workflow without ever having to download Git.
How to Download Git for Windows
To download Git for Windows, you’ll first need to navigate to the Git download for Windows page on Git SCM. Next, you’ll need to find out if your machine is 32 or 64-bit. To determine whether your machine is 32 or 64-bit, simply type 32 or 64 bit into the Start menu (usually found on the bottom left of your screen) and hit enter.
This will open an About menu on your computer and show if your machine is 32 or 64-bit. Next, select the option that matches your system–32-bit Git for Windows Setup or 64-bit Git for Windows Setup–to begin the Git download for Windows process.
Git Download for Windows Setup
As Git begins to download, you will be met with several setup options that appear automatically. For most of the setup options, you can simply accept the default settings, with one exception.
Select Next through the initial setup options until you get to the option titled Adjusting the name of the initial branch in new repositories.
From here, select the option that reads Override the default branch name for new repositories and type main in the text box just below.
This makes it so any time you create a new repository, your initial Git branch will be called main instead of master. Changing your default branch name to main is an accepted tech industry standard. Take a look at this article for more information about the change from master to main.
From here, you can continue to accept the default setup by selecting Next through the remainder of the options. You’ll know that you’ve come to an end to the setup options when you are presented with an option to Install.
Select Install and a status bar will appear showing the progress of your Git download. Completing your Git download for Windows can take anywhere from 1-5 minutes depending on your Internet connection. Once the Git download status bar is filled, you should have Git downloaded for Windows on your computer.
Verify your Git Download for Windows
To double check that Git has been properly downloaded to your machine, navigate to a terminal, such as the GitKraken CLI, and run git –version. Your terminal should return this message: git version #.##.#.
Congratulations! Now that your Git download for Windows is complete, jump to the bottom of this article for a guide to configuring Git and tips for accelerating your Git knowledge.
How to Download Git for Mac
To download Git for Mac on your Apple Machine, navigate to the MacOS Git Download page on Git SCM. You will first need to install Homebrew before you can download Git for Mac. Homebrew is a package manager that makes it easy to install and update software packages. To install Homebrew, select the Homebrew link at the top of the Git SCM page. Now, from the Homebrew page, copy the string of code found just beneath the title, Install Homebrew.
/bin/bash -c "$(curl -fsSL https://raw.githubusercontent.com/Homebrew/install/HEAD/install.sh)"
Next, navigate to your terminal of choice and paste the code you copied from the Homebrew page. This will automatically start installing Homebrew on your machine.
Depending on your computer settings, you may have to enter your computer password before Homebrew installs. You’ll know that Homebrew has installed when the following message is returned in your terminal: Installations successful.
Download Git for Mac with Homebrew
Once Homebrew is installed, navigate back to the MacOS Git download page on Git SCM. From here, copy the code found just beneath the Homebrew title: $ brew install git. Paste that code into your terminal and hit return; this will begin your Git download for Mac.
Once your Git download is complete, the terminal will return a message that looks like the following: Summary 🍺 /usr/local/Cellar/git/#.##.#.. This is simply a download summary that Homebrew provides that tells you that your Git download was successful, and shows you the location of your Git download on your machine.
Verify your Git Download for Mac
To double check that Git has been properly downloaded to your machine, navigate to a terminal and run git –version. Your terminal should return this message: git version #.##.#.
Congratulations! Now that your Git download for Mac is complete, jump to the bottom of this article for a guide to configuring Git and tips for advancing your knowledge of Git.
How to Install Git for Linux
Installing Git on Linux is quite simple. In fact, many Linux systems already have Git installed by default.
To confirm whether or not your computer already has Git downloaded, open a terminal and type: git –version. If Git is already installed, your terminal will return something like: git version 2.36.1. If your machine doesn’t have Git installed, the terminal will return an error message.
The easiest way to download Git on your Linux system is to use the preferred package manager of your particular distribution. While the specific commands to download Git on Linux systems are different, the process for downloading Git is very similar.
First, update your package list, and then download the most recent version of Git supported by your system. Let’s take a look at what that looks like for the most popular Linux distributions.
How to Install Git on Ubuntu / Debian
To install Git for Ubuntu, run these commands from your terminal:
Update System Package List:
sudo apt-get update
Installing Git in Ubuntu / Debian:
apt-get install git
Install Git on Fedora
To install Git on Fedora, run these commands from your terminal:
Update System Package List:
sudo dnf -y update
Install Git on Fedora:
sudo dnf -y install git
Gentoo Install Git
To install Git on Gentoo, run these commands from your terminal:
Update System Package List:
emerge -avDuN world
Install Git on Gentoo:
emerge --ask --verbose dev-vcs/git
Install Git on Arch Linux
To install Git on Arch Linux, run these commands from your terminal:
Update System Package List:
sudo pacman --sync --refresh --sysupgrade
Install Git on Arch Linux:
pacman -S git
Confirm your Git Installation on Linux
Once you’ve run the code specific to your package manager to download Git on Linux, you’ll want to confirm that your Git installation on Linux was successful. To make sure Git has been properly downloaded on your machine, navigate to a terminal and type: git –version. Your terminal should return this message: git version #.##.#
Configure Git for your Operating System
Before you start using Git to track your projects, you’ll need to configure your identity. You must configure your identity because, as the Pro Git Book states, “every Git commit uses this information, and it’s immutably baked into the commits you start creating”. To configure your identity, you’ll need to open a terminal and run the following commands:
Configure your Username:
git config --global user.name "Your Name"
Configure your Email:
git config --global user.email [email protected]
Configure your Default Branch Name to Main (Mac and Linux only):
git config --global init.defaultBranch main
You can verify that you have configured Git properly by running git config –list. If configured correctly, the terminal will return your username, email, and default branch name as you entered them above.
Git Download FAQs
Q: How to Download From Git
A: Git is software that runs locally on your machine once you download Git. Select your operating system at the top of this article to download Git for Windows, Mac, or Linux.
Q: How to Download With Git
A: Git can be downloaded from the official Git site, Git SCM.
Git can have a steep learning curve. Complete with autosuggest and autocomplete Git commands, visual commit graph, integrated terminal, and more, GitKraken Client makes Git easier and more intuitive.
Accelerate Your Progress with GitKraken’s Learn Git Resources
Now that you have Git downloaded and configured, you can start working on your first Git project! As you work with Git and get involved in contributing to projects, you’ll discover a vibrant community of developers, academics, gamers, geniuses, and everything in between.
If you want to accelerate your progress so you can start making meaningful contributions at your job or open source projects, take a look at GitKraken’s Learn Git resources. Complete with Git tutorials, definitions, best practices, and more, GitKraken’s Learn Git library is completely free and is sure to help you take your Git skills to the next level.
 GitKraken MCP
 GitKraken Insights
 Dev Team Automations
 AI & Security Controls


