

 GitKraken Desktop
 GitLens for IDEs
  GitKraken MCP
 GitKraken CLI
 GitKraken Insights
 Git Integration for Jira
 Supercharge Your Dev Team
  Secure Your Dev Team
 The Git push command uploads local changes to your remote repository.
Generally, when using Git, your code exists in both a local repository on your computer, as well as one or more repositories on a server. We call the repos stored on a server “remotes”.
Git push will upload Git commits from your local repository to your remotes, like repos stored on GitHub or GitLab. Git push is commonly used in development workflows to make local changes accessible on the remote so that other collaborators can fetch or pull the most updated project history.
Running Git push doesn’t overwrite your original files. Git knows which commits already exist on the upstream branch and will only upload new changes pushed from your local repository.
In this article, we will cover the ins and outs of using Git push and its associated actions including, how to connect to a remote repository, pros and cons of setting a default upstream, deleting remote branches, and how to properly use Git push force.
Prefer to push your changes from the CLI? GitKraken Client allows you to leverage the speed of the terminal while also providing a visual commit graph all in the same window.
The Benefits of Git Push
There are two main reasons you would want to Git push your commits to a remote:
- To have a remote backup of your repository and branches. Most Git hosting services essentially act as a “cloud backup” of your repo. If something were to happen to your computer, you can rest assured your code is not gone for good.
- To share your code with others. Whether sharing code with your development team or sharing the code publicly to the open source community, pushing to a remote is a convenient way for developers to share and collaborate on projects. Other people can clone or fork your repo to see your code and contribute changes. Who has access to your remote is configured differently depending on which Git host you’re using.
Connecting to a Remote Repository
There are 2 main ways to start working on a project. You can either clone an existing repository or create a new Git repository. Cloning a repository does not require you to connect to a remote as it automatically creates a remote for you.
However, if you created a new repository on your local machine using either git init from the terminal tab in GitKraken Client, or by simply selecting the Start a local repo button from the GUI, you’ll need to manually connect to a remote server in order to upload and share your project.
GitKraken Client can add a remote repository on a variety of popular hosting services including GitHub, GitLab, Bitbucket, and Azure DevOps.
GitKraken Client integrates with many of the major repository hosting services so you can spend less time trying to connect repositories and more time writing amazing code.
To connect your local project to a remote using the GUI in GitKraken Client, navigate to the left panel, hover over Remote and select the + icon just to the right. Next, select your desired remote hosting service at the top. Finally, select Create remote and push local refs. A toast will appear at the bottom left of your screen with the message, “Successfully created repo”.
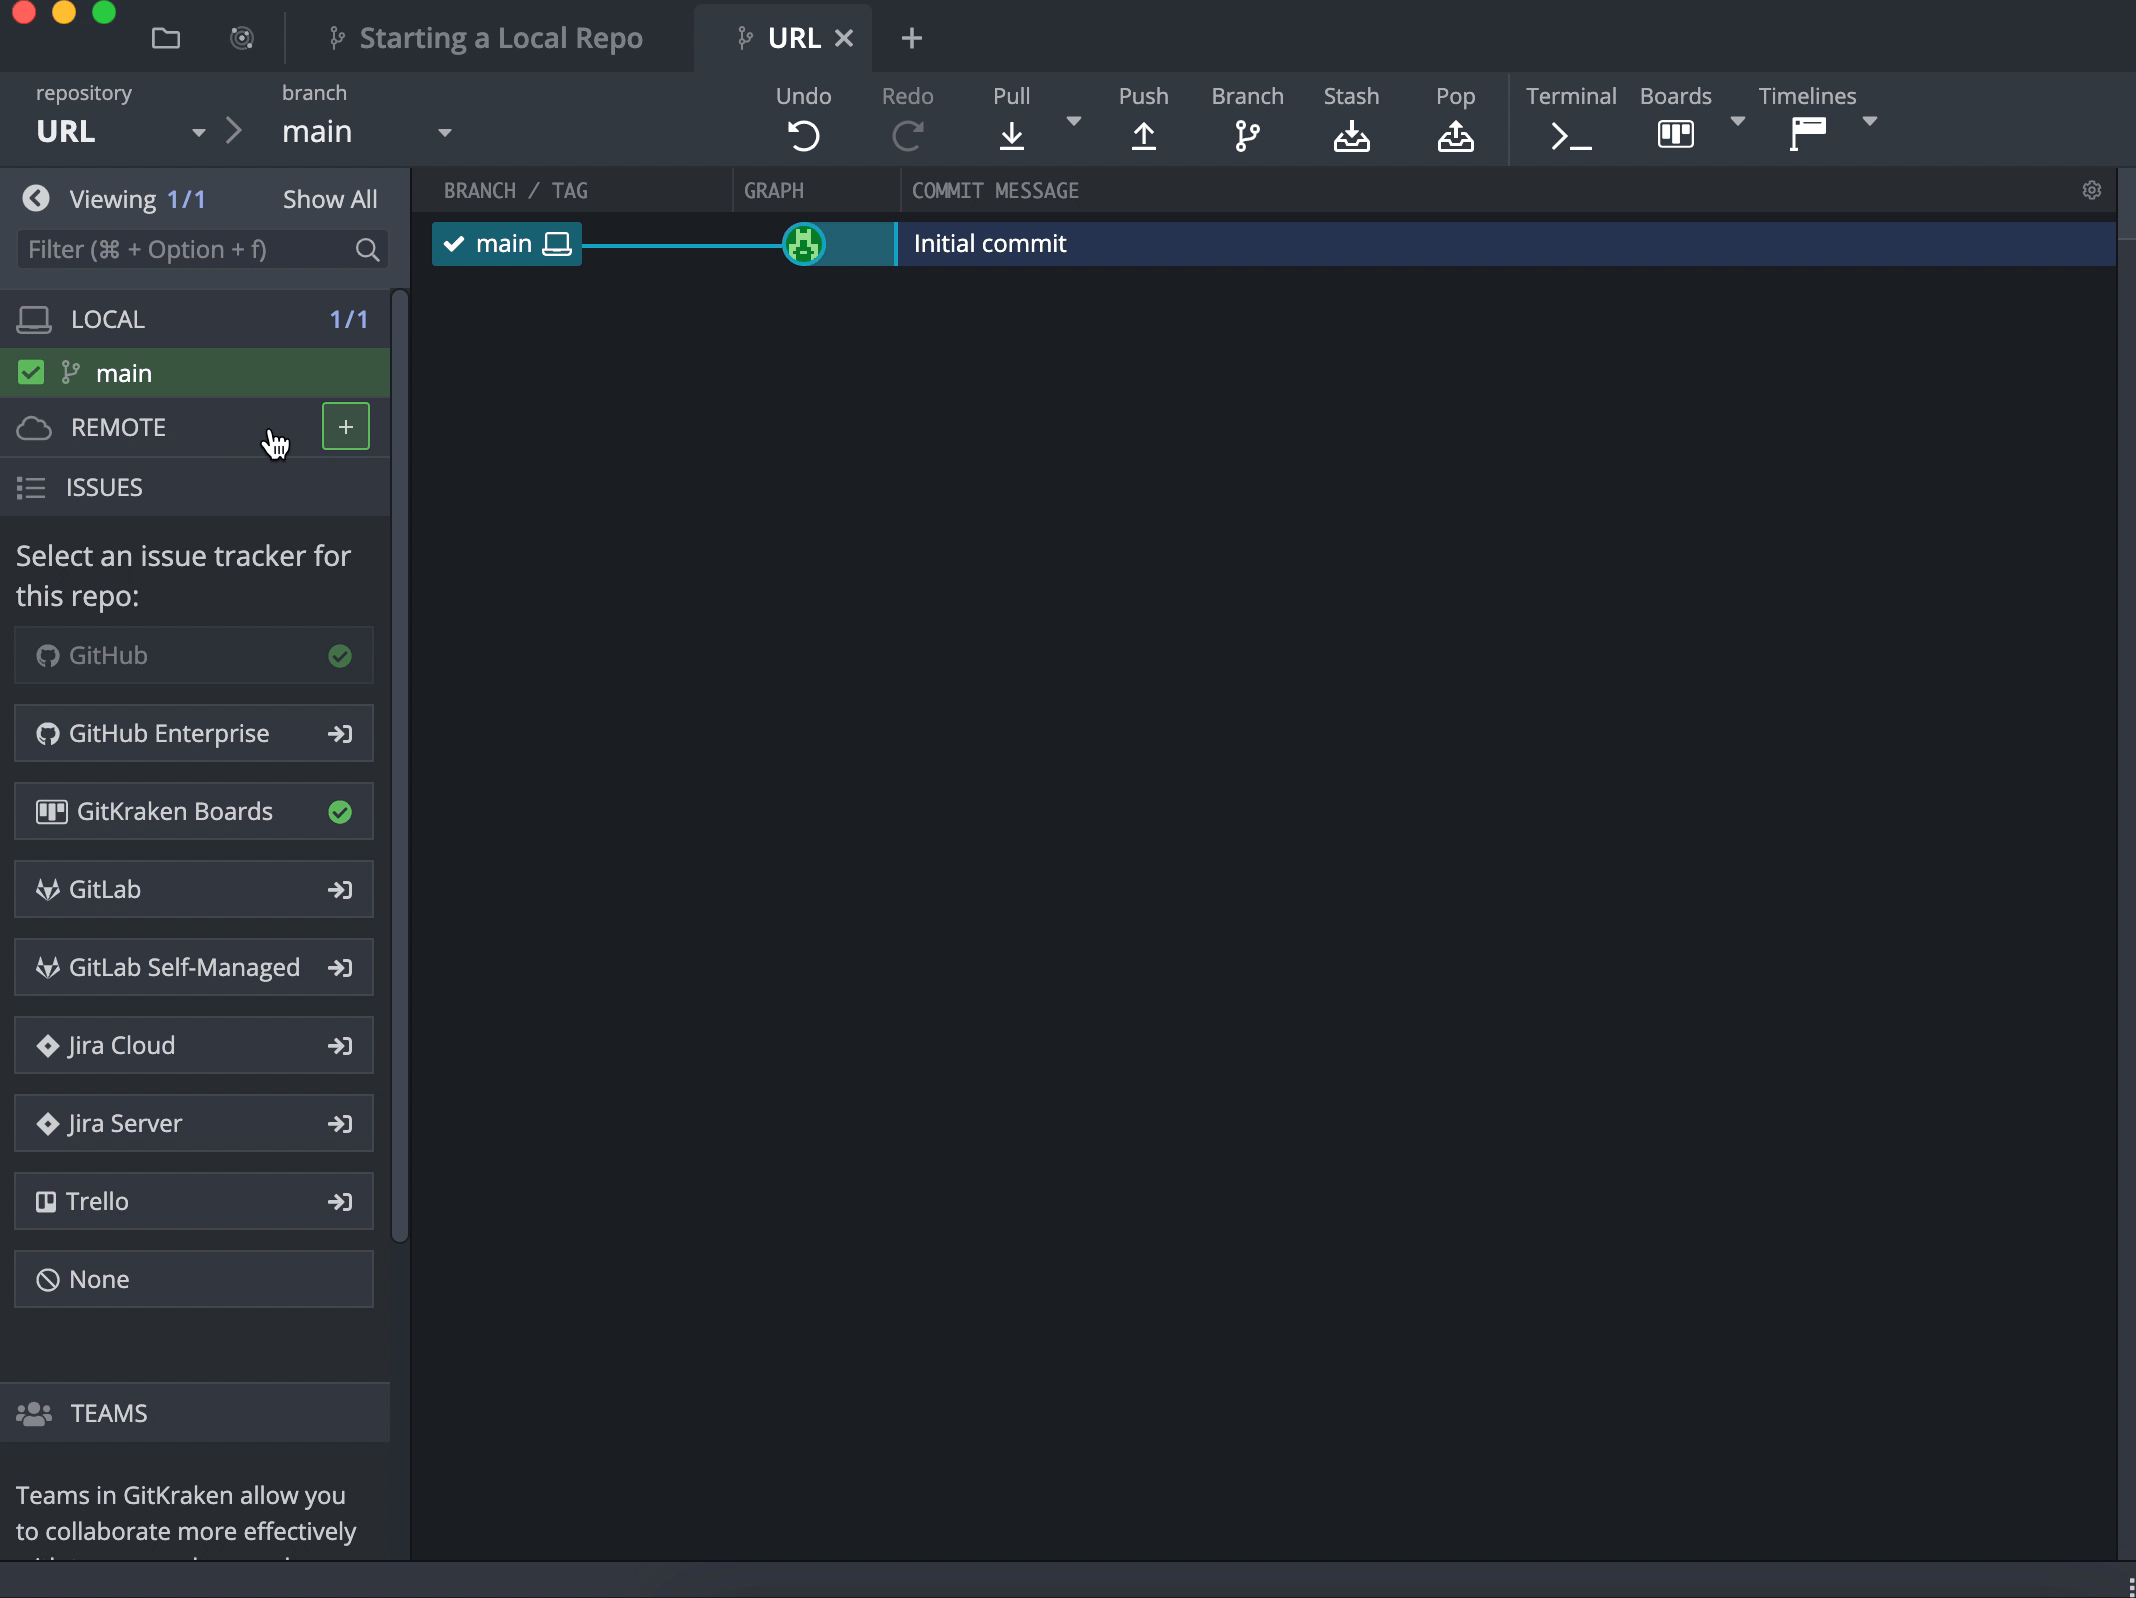
You can also add an existing remote with GitKraken Client using a URL. Before you can add a remote this way, you will need to create a remote repository on your hosting site which will enable you to access the project’s URL.
A project’s URL is usually displayed in a prominent location on your preferred hosting site, making it easy to access. To add an existing remote, take the following steps in GitKraken Client:
- Copy the URL from your repository hosting site and return to GitKraken Client
- Navigate to the left panel, hover over Remote, and select the + icon just to the right
- Select URL and enter a name for the project
- Paste the URL under the sections marked Pull URL and Push URL
- Select the Add remote button
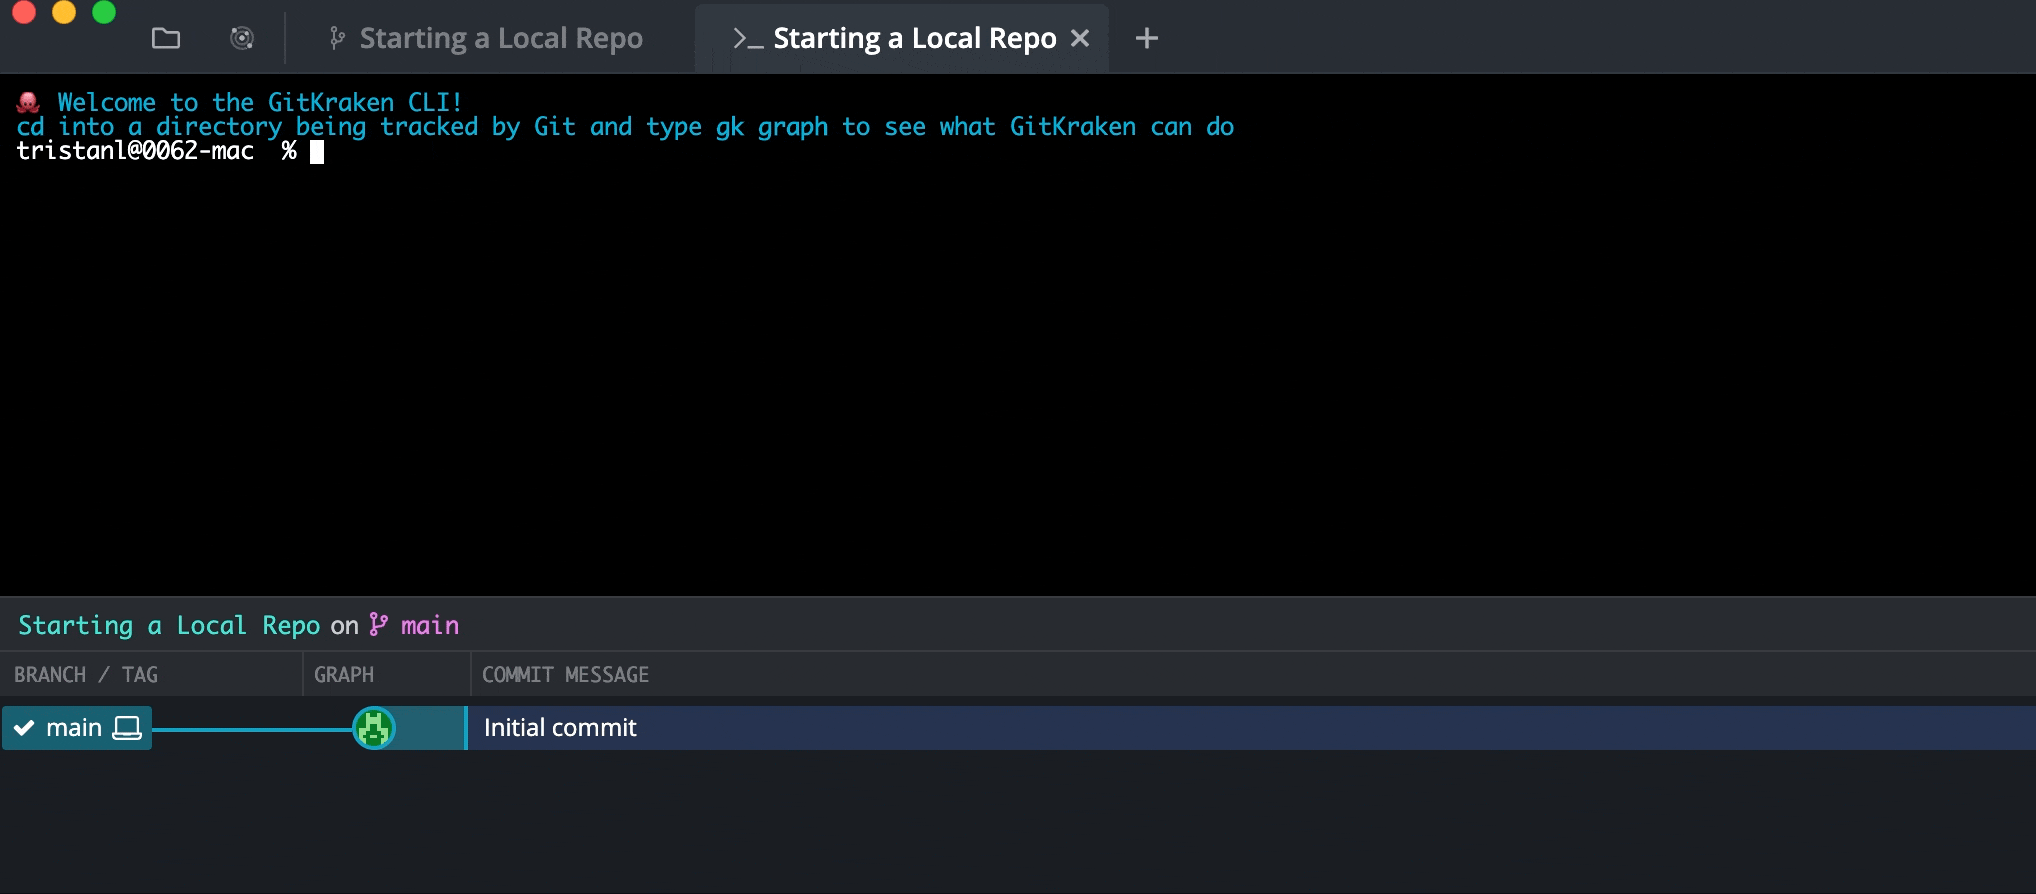
You can also connect your local repository to a remote server using the Git CLI with the remote add command. To access the CLI tab in GitKraken Client, select the Terminal button located on the right side of the main toolbar.

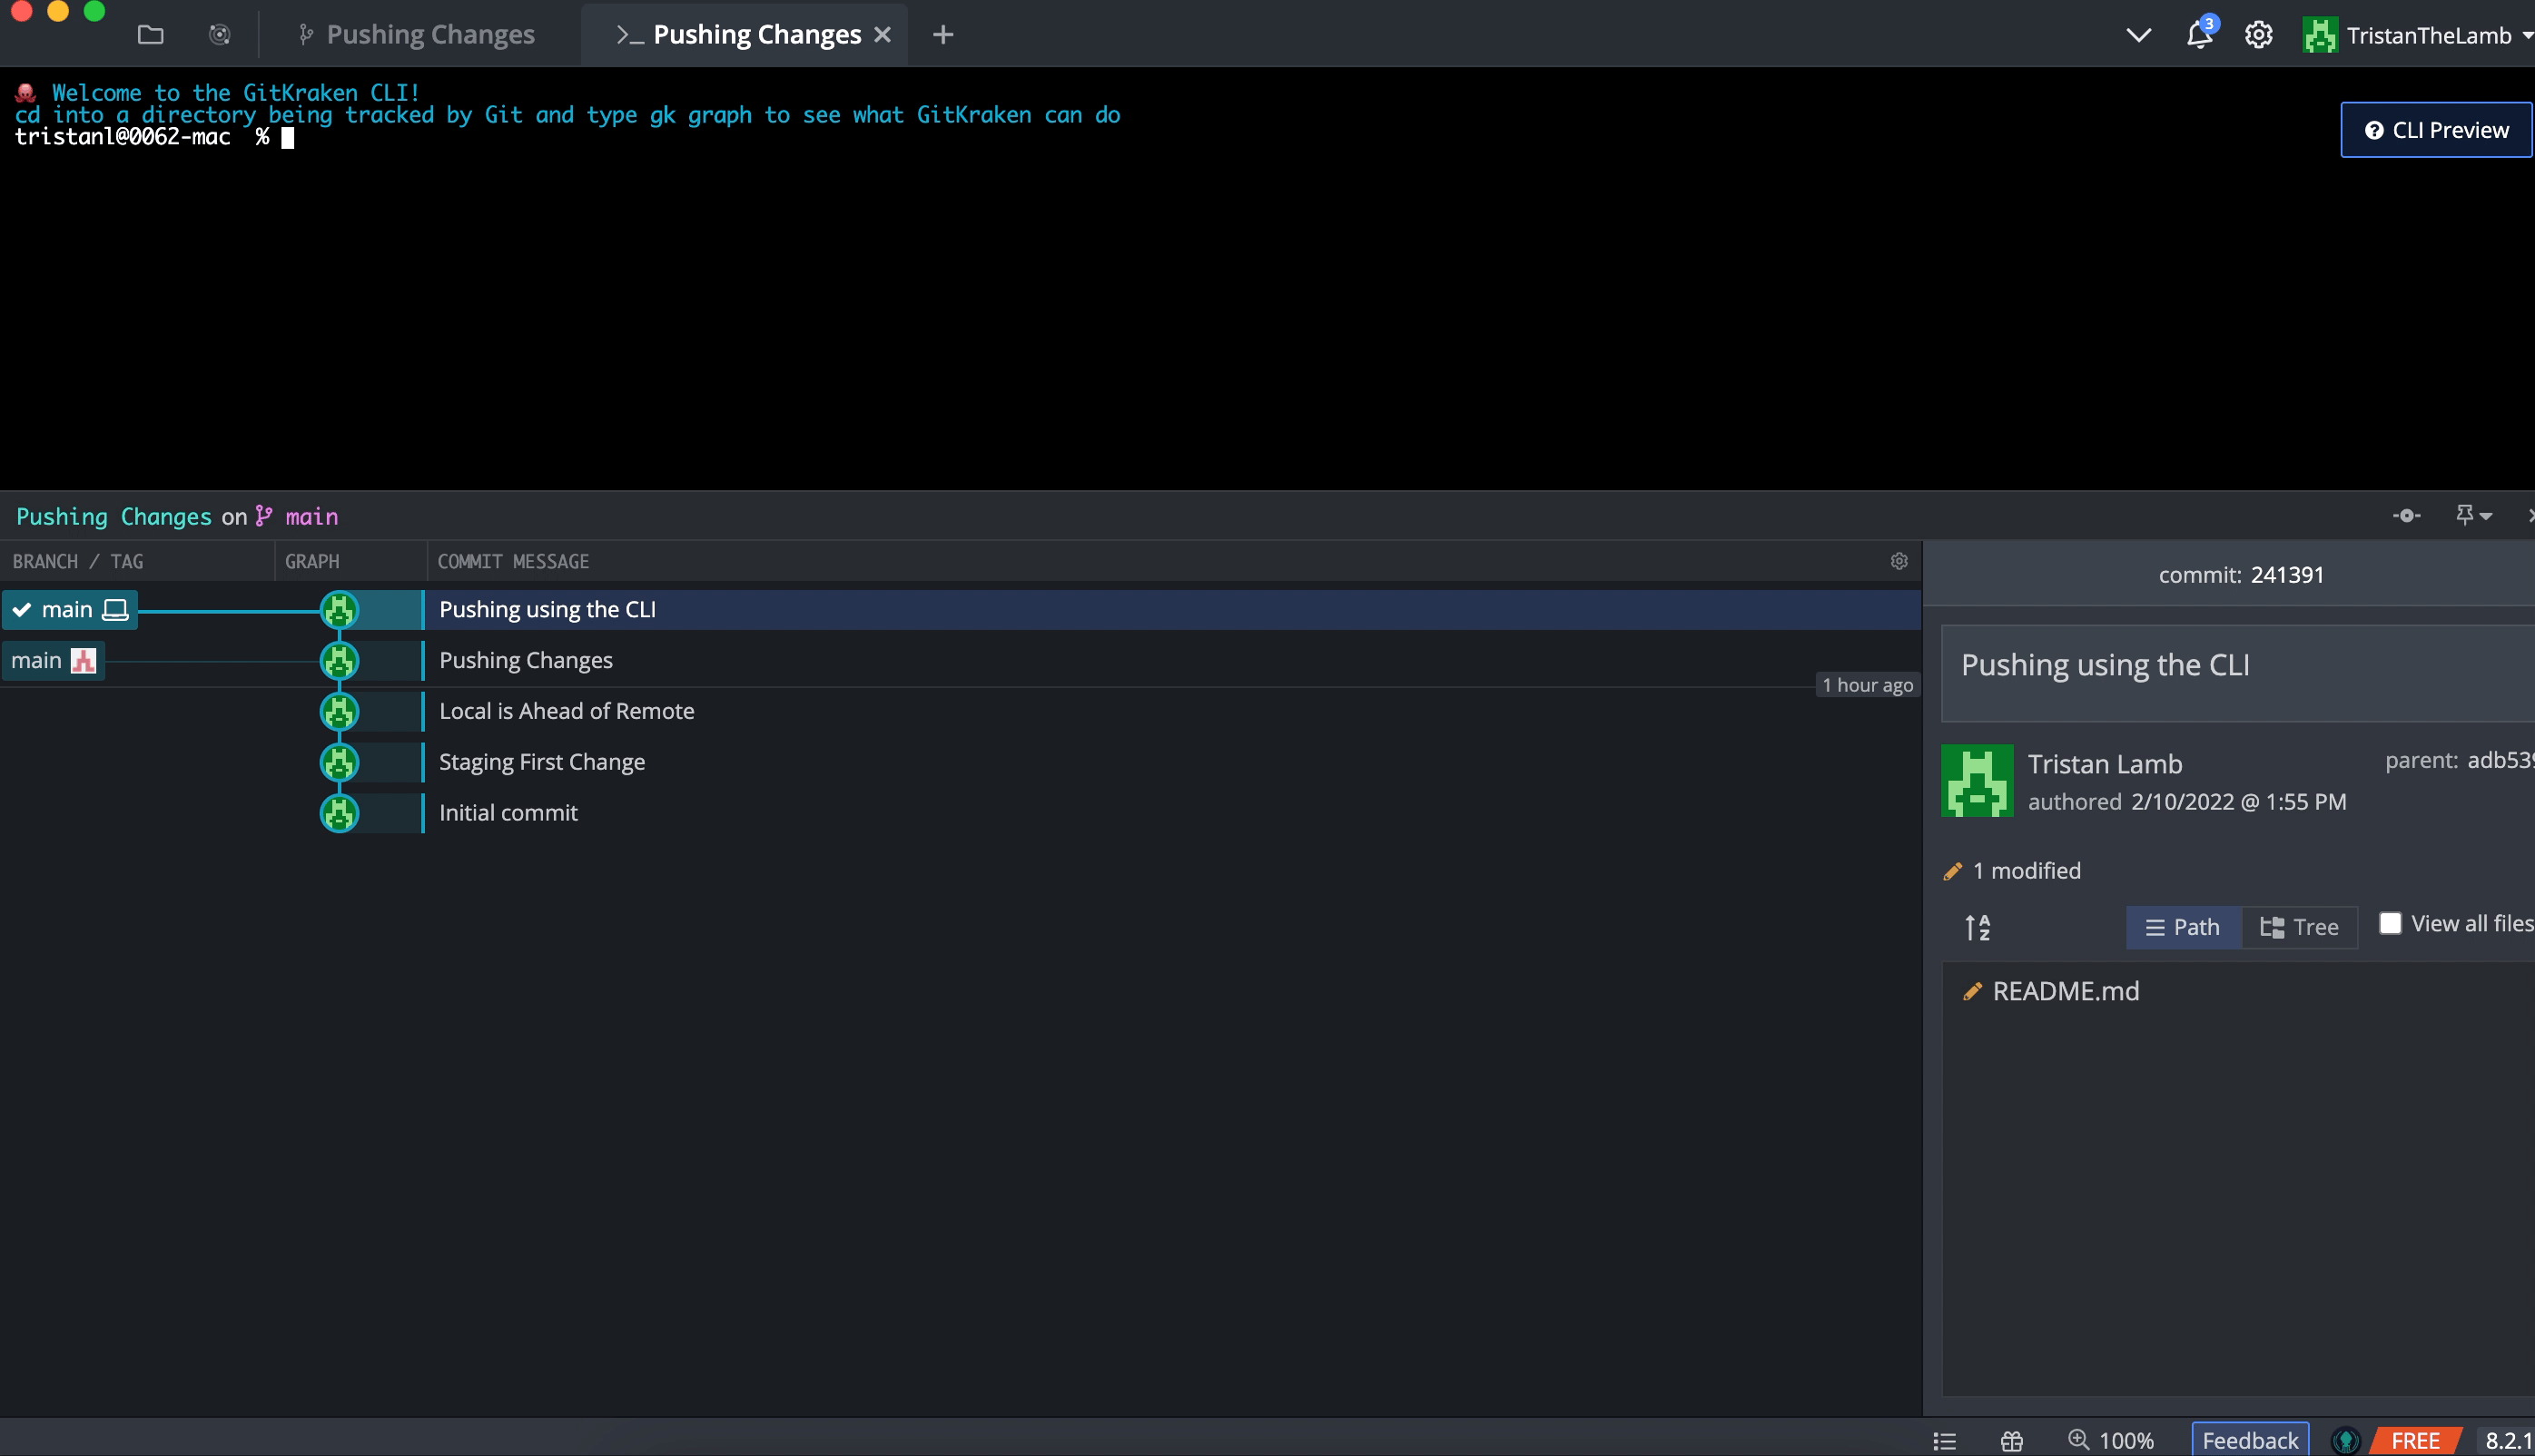
Your screen should then look something like this:

GitKraken Client CLI interface with the terminal on top and GUI commit graph on the bottom.
Now navigate to your hosting site and copy the URL of the remote repo using either HTTPS or SSH. The example below shows what an example URL looks like in GitHub.

GitHub page where you can copy a remote repository’s URL
Now that you have all the necessary information, you are ready to connect your local repo to your newly created remote. To connect these repos, use:
git remote add origin <url of remote>
In the CLI, you can double-check that the remote has been connected by running git remote. You should see that the terminal returns origin after running that command. This means you have successfully connected your local project to a remote repository.
Git Push Local Branch to the Remote
In order to push changes to your remote, you need to first make changes to your local repo. In order to get those changes in a state where they are ready to be pushed, you’ll need to stage or add them, and then commit those changes.
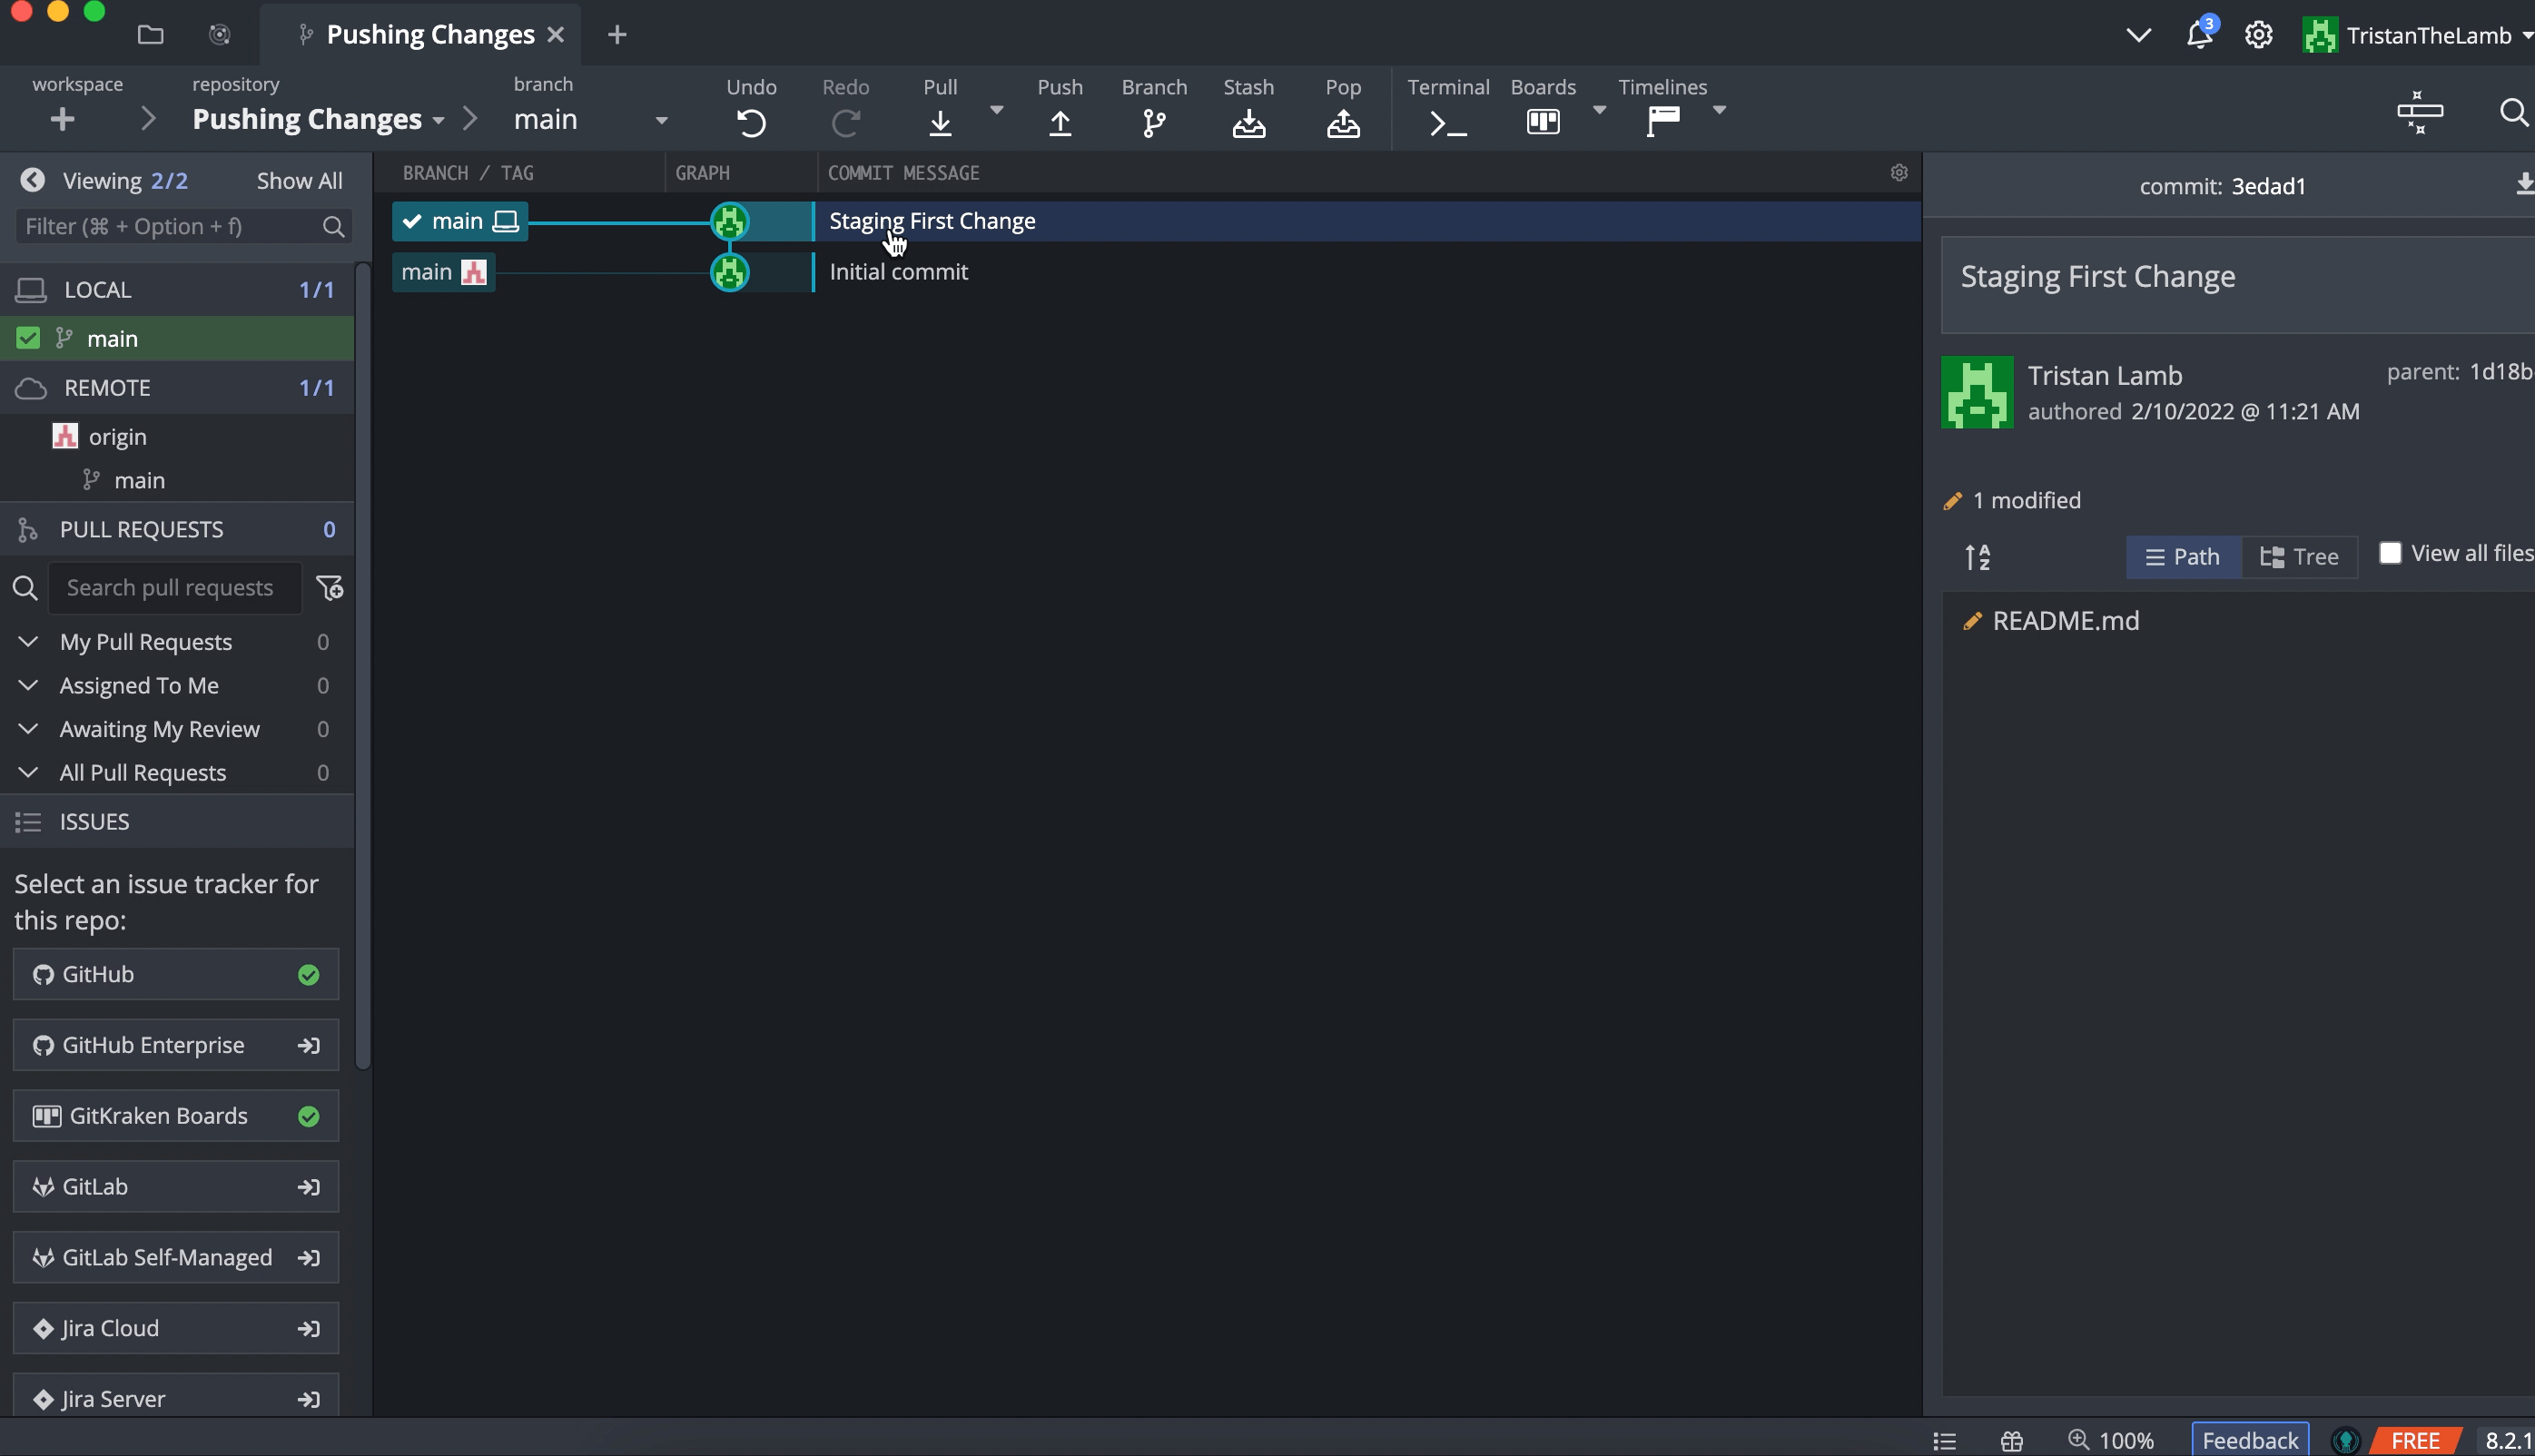
You can verify that you are indeed ready to push changes to the remote if your local repository is “ahead” of the remote, meaning there are changes on your local that are not yet reflected on the remote. In GitKraken Client, you can see if your local project is ahead of the remote right from the central commit graph in the GUI.

GitKraken Client commit graph
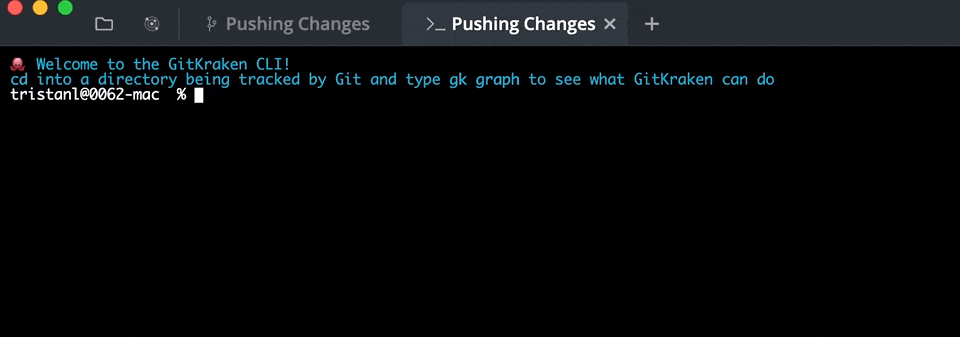
To see if your local is ahead of the remote using the CLI, you will need to run git status. In this case, you can see that the local is ahead of the remote because the terminal returned the message: “Your branch is ahead of origin/main by 1 commit.”

GitKraken Client CLI
Now that you know you are ready to push your changes to the remote let’s look at how to Git push using GitKraken Client’s GUI and CLI.
There are 3 ways to push your changes using GitKraken Client’s GUI:
- Checkout the desired branch and then select the Push button in the top toolbar.
- Use the Command Palette with the keyboard shortcut
command/ctrl + Pand then type “Push”. - Right-click the branch from the central graph and select Push from the context menu.
To push changes using GitKraken Client’s CLI, open the terminal tab by selecting the Terminal button from the top toolbar. Checkout the branch you want to push changes from using git checkout <branch name>. To Git push your changes, use the following command:
Git push <remote name> <branch name>
Setting a Default Upstream Branch
There are 2 distinct developer workflows that diverge when it comes to pushing changes to a remote. Some developers prefer to set a default upstream branch while others would rather manually select which branch to push their changes to each time.
The reason some developers choose to set a default upstream branch is that it eliminates a step in the pushing process. Instead of having to choose which remote branch to push commits to each time, they create a relationship, that we call setting a default upstream, between a local and remote branch that tells Git to push all changes made on the associated local branch to the connected remote.
If you want to set an upstream using GitKraken Client’s GUI, simply navigate to the left panel, hover over the local branch you want to set an upstream for, click the ellipses icon, and select Set Upstream.

Dropdown options available when the ellipses are selected for a branch
To set an upstream branch using the GitKraken Client’s built-in CLI, use the --set-upstream flag on a push command. For example, it might look something like:
Git push --set-upstream origin main
This will establish a default upstream branch and Git will automatically push and pull from that remote branch moving forward.
This leads us to the other school of thought: not setting a default upstream. These developers opt to manually enter the branch name that they want to push to each time they upload commits to a remote. This process is regarded by some to be a more intentional process that promotes clean remote repositories and avoids the hassle that can come with setting and switching upstreams.
If you prefer not to set a default upstream, you can simply continue to use the push commands from the earlier examples. Either using one of the push options in the GUI like the Push button, or git push <remote name> <branch name> in the command line.
The magical autosuggest functionality in GitKraken Client will populate all options available for the Git push command, but if you prefer using a GUI, you can drag-and-drop for fast push and pull!
Deleting a Remote Branch
It’s likely as you start interacting with a variety of local and remote repositories that you will encounter a situation where you need to delete a remote Git branch. For example, to promote a clean repository, you may want to delete a remote feature branch that you merged into the main branch. Because the remote repository should be the most accurate working copy maintained by you and your team, deleting remote branches should be handled with care. Make sure you and your team have effectively communicated and agreed that the branch in question is cleared for deletion.
Using the GUI in GitKraken Client, you can delete a remote branch by simply navigating to the left hand panel under the Remotes section, right-clicking the remote branch, and then selecting Delete <branch name>.

Dropdown options available after right-clicking on a branch
Perhaps counter-intuitively, branches on remotes are deleted with the Git push command on the CLI. To delete a remote branch using the CLI navigate to the terminal and use:
git push -d <remote> <remote branch name>

Deleting Git branch “How-to-example” in the terminal of GitKraken Client
What is Git Push Force?
Force pushing is a variation of the Git push command, and is an effective way to overwrite commit history stored on a remote repository with your local history. Git push force should be used with extreme caution as it can have unintended consequences, including losing commits.
While there are acceptable scenarios to force push, they represent exceptions to the norm. Force pushing should not become a normal part of your workflow because of the potential it has to drastically alter your remote repository, which can cause major problems for you and your team.
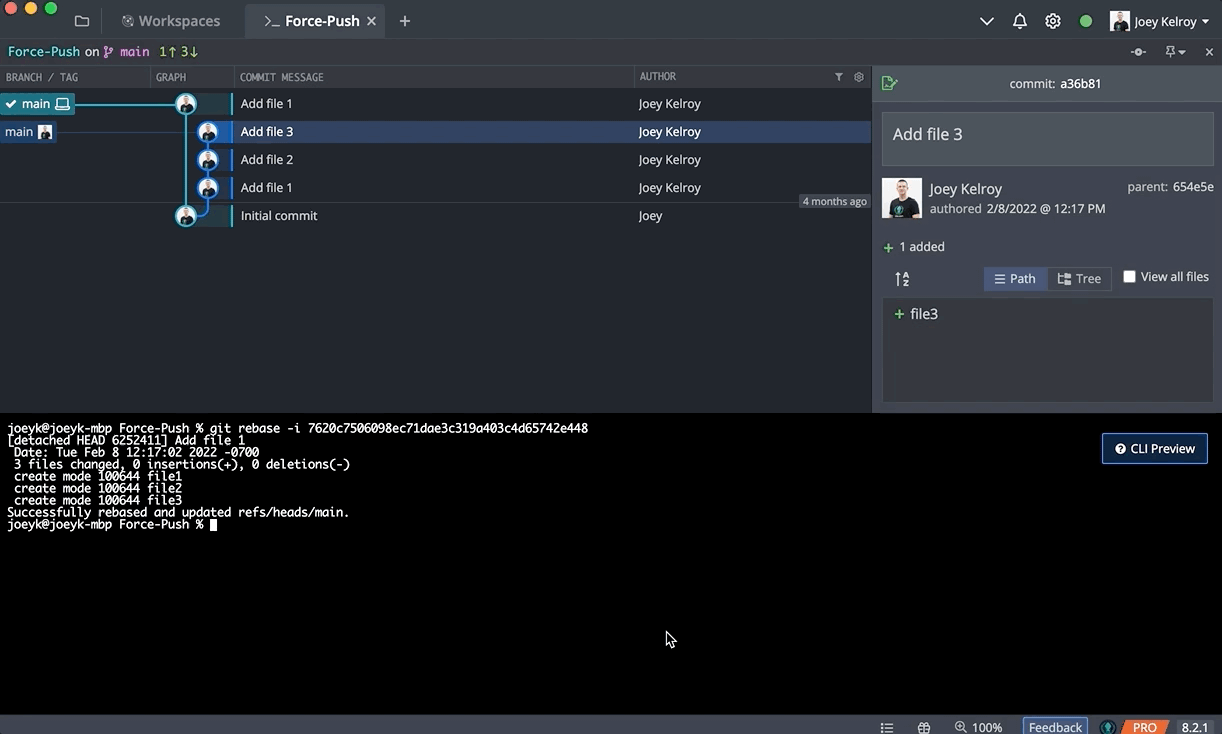
When starting a force push in GitKraken Client’s GUI, a banner appears with the following options: Pull (fast forward if possible), Force Push or Cancel. If you’re 100% sure you want to force push, simply select the Force Push option. You will need to confirm by selecting Force Push again. This is another safety measure taken by GitKraken to help you avoid an unintentional force push.

Force push using the GUI in GitKraken Client
Using Git push force is just as easy in GitKraken Client’s CLI. Navigate to the Terminal Tab in the top toolbar. Click into the terminal and type git push –force.
Force push using the terminal in GitKraken Client
Force Push with Lease
Using Git push –force-with-lease is one way you can take advantage of the power of force pushing, but it also affords you more of a safety net. The --force-with-lease flag tells Git to force push only if there are any changes on the remote you haven’t yet pulled or fetched to your local repository. If Git detects that there are changes on the remote branch that will be lost or overwritten, the force push will fail.
GitKraken Client makes running complex actions, like force push, safe and easy. Plus, the autosuggest feature provides a brief description of what Git commands do, so you can code with more confidence.
Push your Code and Yourself Further
Regardless of whether you are a newbie or Git veteran, knowing how to use Git push effectively allows you to start contributing to projects. Being able to make meaningful contributions to your team’s repositories can be incredibly empowering. GitKraken Client is here to help you on your path to pushing amazing code to projects all around the world.


